In this article
Tight hips are one of the most common things I see as a yoga teacher.
Many people, however, don’t even know they have tight hips…
…that is, until they try to move into a simple pose that is surprisingly difficult thanks to their tight hips.
What surprises most people about tight hips is that they can affect a wide range of poses, not just a basic butterfly stretch or lunge.
That’s because the hips contain a network of muscles that connect throughout your body to your legs, back and glutes.
So tight hips can impact a major portion of your body, from your rib cage all the way down to Your knees.
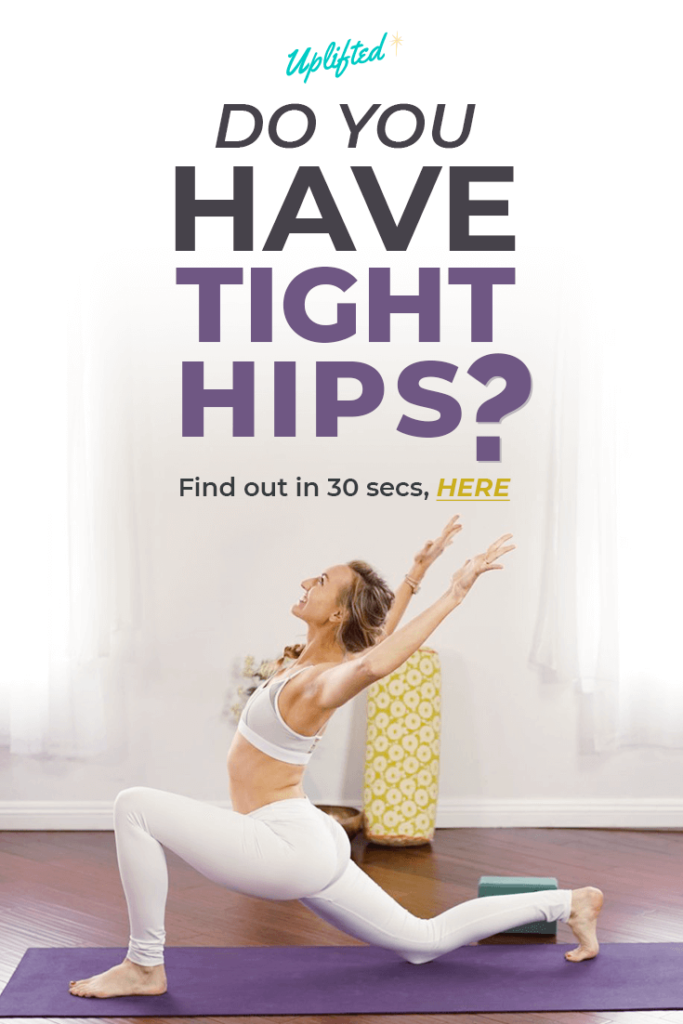
Not sure if you have tight hips? Take this short quiz for tight hips to find out if tight hips might be to blame for some of your pain.
What Causes Tight Hips, Anyway?
There are a lot of different factors at play here, but it mainly comes down to lifestyle.
Too much sitting is one of the biggest causes I see in my yoga classes.
Most people live sedentary lifestyles, working at a desk all day and neglecting exercise. Too much sitting can affect your body negatively in a lot of ways, especially in your hips.
When you sit, the muscles in the hips are shortened. If they aren’t being stretched properly, they will stay in that shortened and tight position.
The shortened muscles and ligaments can cause other joints to compensate and will eventually lead to other problems.
And if you do exercise, then you may have tight hips too.
A very active lifestyle could also be to blame for tight hips.
Basically, anything that is repeatedly putting your muscles in a shortened position will ultimately lead to tightness. This includes exercise.
Long distance running can be just as detrimental to sitting all day if you are not taking time to stretch. So too will deadlifts in CrossFit and your favorite moves in your gym’s aerobics class.
Luckily, if you’ve got tight hips, whether it’s from sitting too much or exercising regularly, there are lots of yoga moves that you can do.
In yoga, there’s an entire family of poses called ‘hip openers.’ Some hip openers work by stretching the hip flexor and increasing the rotation of the femur bone in the hip socket. Other poses work by lengthening the psoas muscle.
I’ll break them both down for you here.
Tight Hip Flexors
The hips flexors are a group of muscles around the top of your thighs. There is one on each side of your body and it runs from the hipbone to the kneecap.
In fact, tight hip flexor are a common cause of ‘runner’s knee’, which is a common pain underneath the kneecap. The IT band that connects the knee to the hip is shortened as tight hip flexors pull up on it.
That pull on the IT band also pulls on the kneecap, shifting it a little and causing pain in the knee.
Long periods of sitting are also a major culprit for tight hip flexors, especially today when most people work at a desk all day.
Even if you don’t do anything at all, it takes a conscious effort to stretch and counteract all of the sitting that we do.
Shortness and tightness in the hip flexors can really impact your range of motion and the ability to move your legs easily. This not only makes yoga difficult, but also makes everyday movement difficult as well. It can also cause pain, which is why yoga for hip pain is so powerful.
The Psoas Muscle
The psoas muscle may be the most important muscle in the body.
There, I said it!
Without it, we wouldn’t be able to walk or even get out of bed in the morning.
The psoas originates in the lumbar spine and wraps around to the top of the femur bone. It is a connective muscle, but it also works to stabilize the spine. This large muscle is an important part of our hips as well as our core.
Tightness in the psoas can cause a lot of other issues. Knee and low back pain, poor posture and even constipation can be a result of the constant contraction of this muscle.
Learning to release the psoas muscle is not as straightforward as it is with the hip flexors. It takes an internal awareness to release this muscle.
It’s usually an ongoing process that is incorporated into your entire yoga practice, not just a few targeted yoga poses. Not only that, but there are also energy points located along this muscle.
This is why you often hear that many students feel emotions arise when doing some hip openers.
The psoas is one of the deepest muscles in the human body, which makes it the hardest to stretch and strengthen. If you’d like to work on stretching your psoas, then try incorporating some of these poses into your daily practice.
You might also like: Yoga For Runners: 7 Poses That Will Help You In The Long Run
Frog Stretch (Mandukasana)
Kneel on the ground and roll your spine forward. Spread your legs out to the side, keeping a 90 degree bend in the knees and ankles. You can keep your hands on the mat or come down to the forearms.
Frog pose is a simple yet very intense stretch. You’ll feel a stretch in the inner thigh, groin and hips. This pose takes a bit of mobility in the knees as well, so take the time to warm up your knees before coming into this pose.
Go slowly into this pose. It’s important not to push yourself too hard. Discomfort is ok, but sharp, shooting pains are not. And of course, remember to breathe.
Half Pigeon Pose (Ardha Kapotasana)
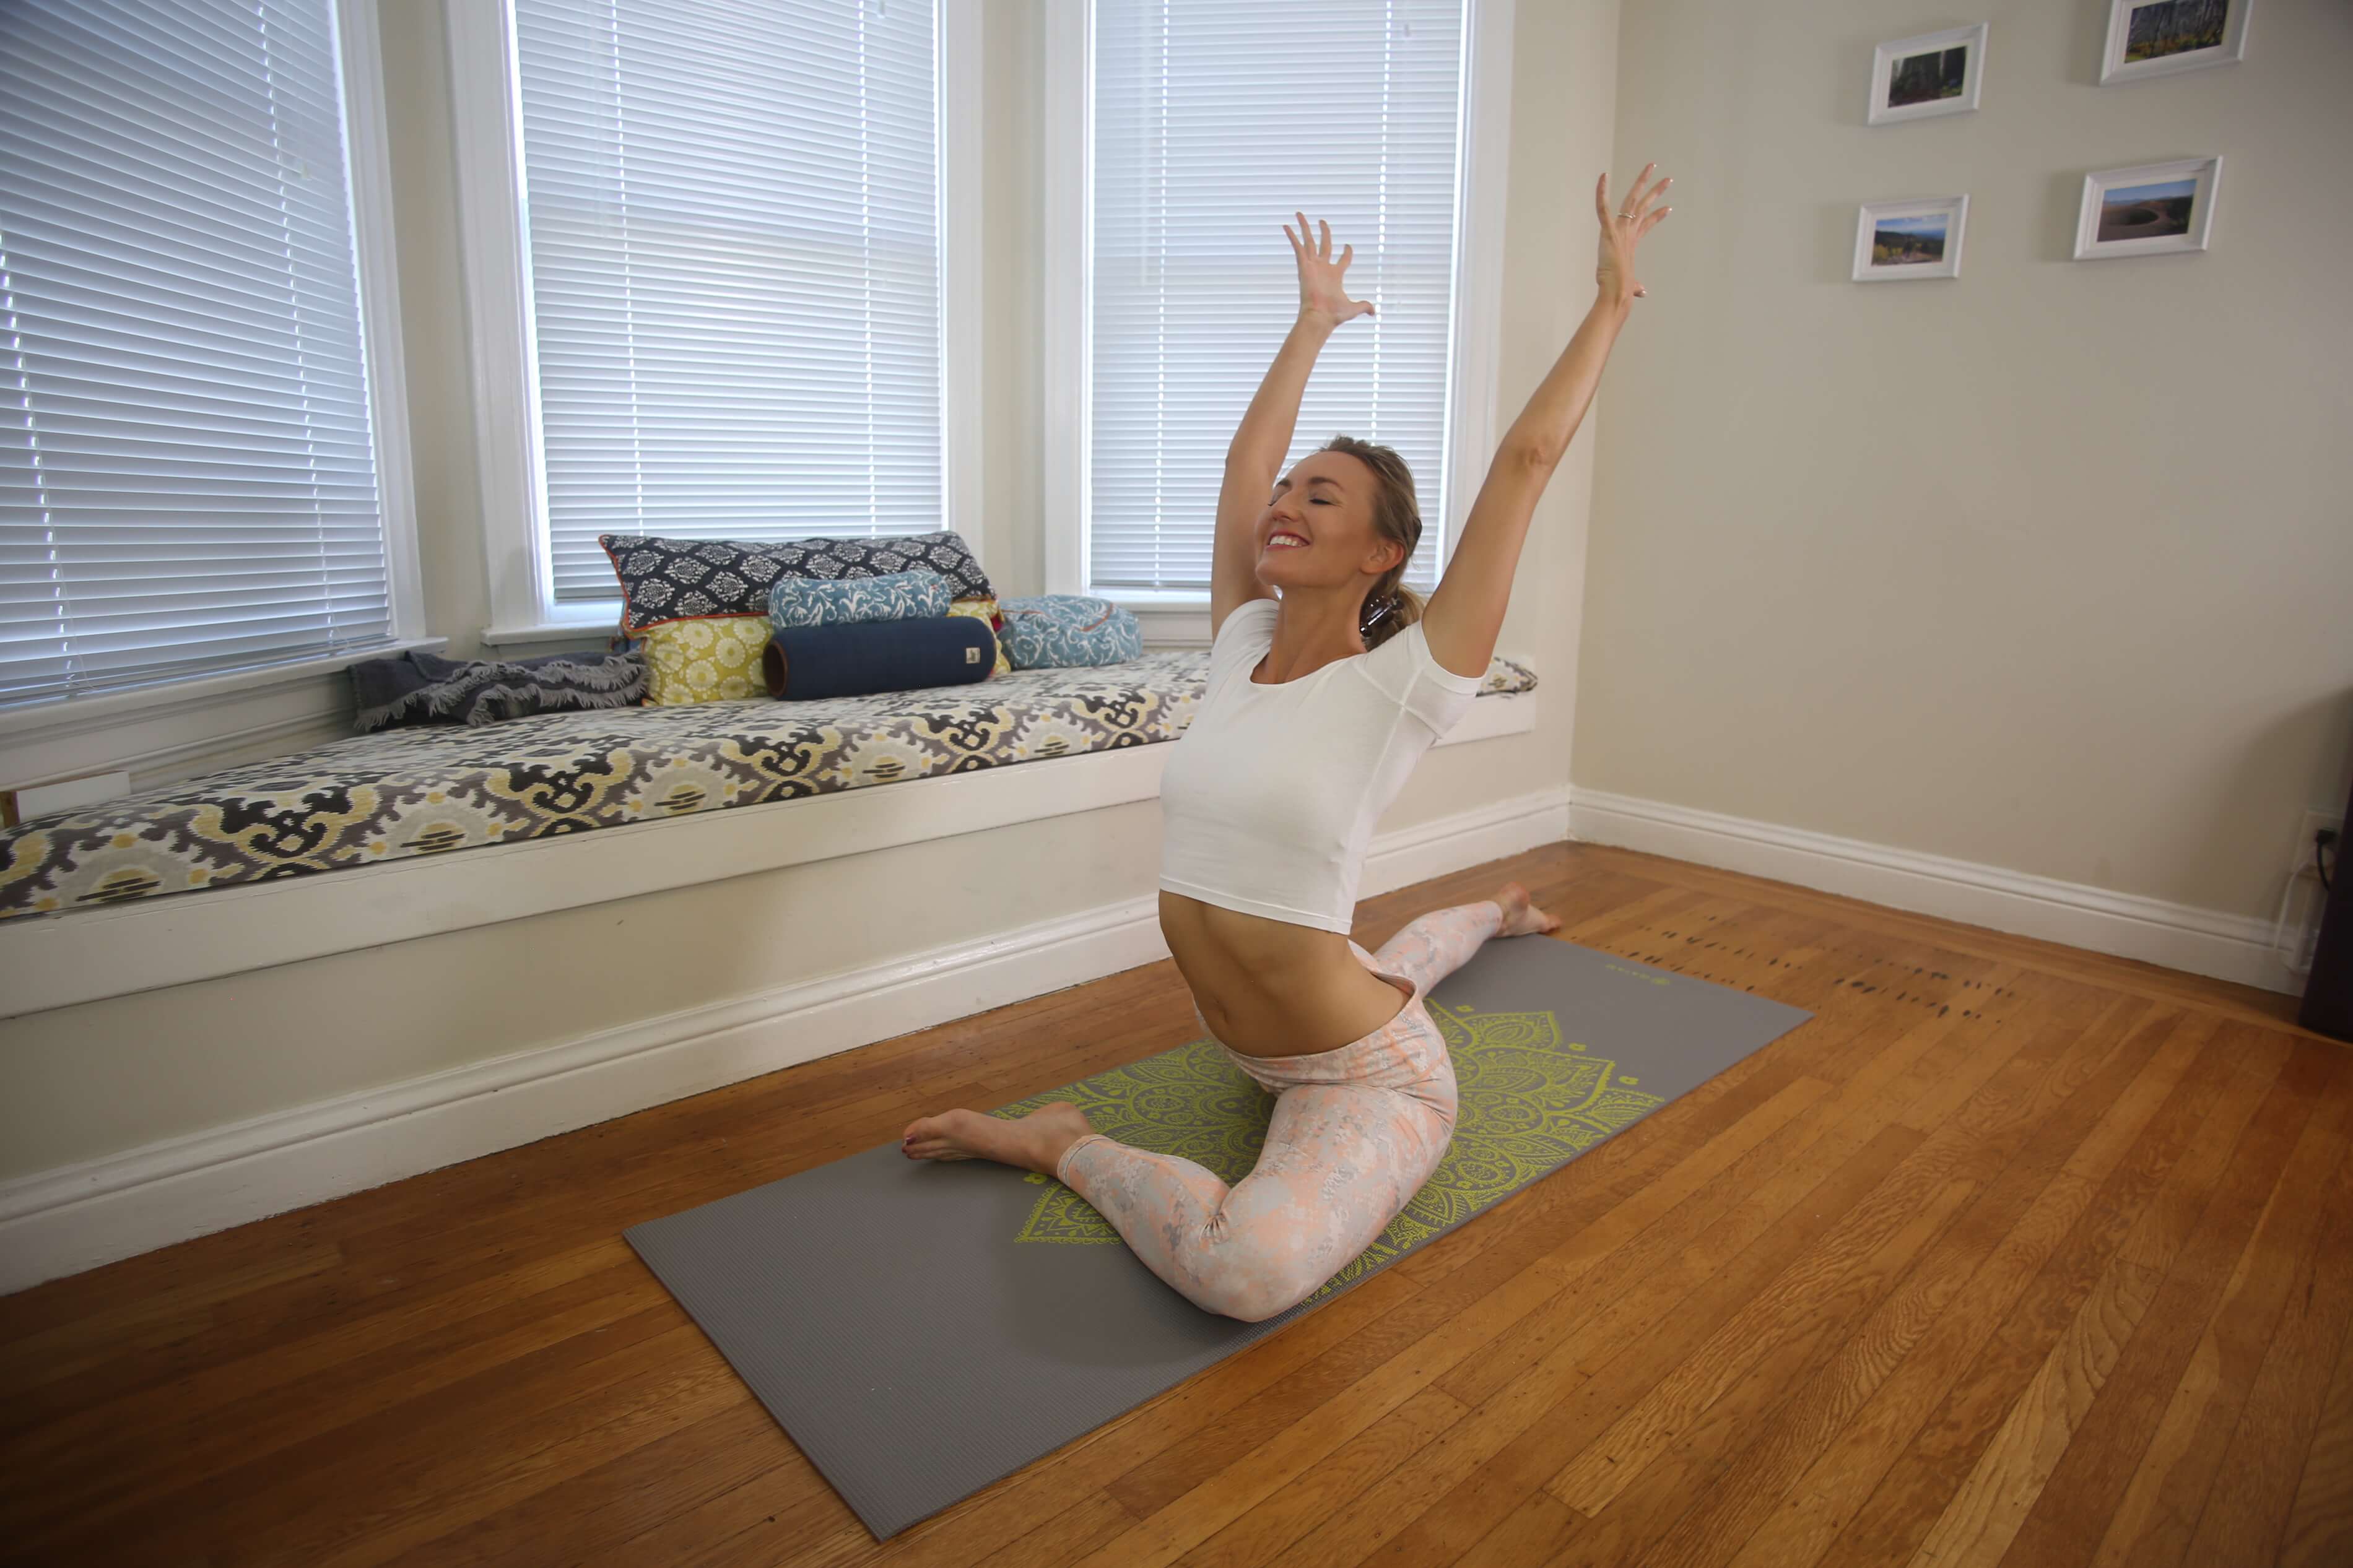
Pigeon pose is one of my favorite hip openers. It’s a pose that you can really relax and breathe into. There are several variations of the pose which makes it accessible to people of all levels. It opens the hips by increasing range of motion and lengthening the hip flexors.
For this variation, bend one leg in front of you and extend the other one straight behind you. Square your hips and flex the front foot. The more parallel your shin is the front of the mat, the deeper the stretch. You can stay upright or relax your torso over the front leg.
For the full benefits of this pose, hold for 10-12 breaths. Use each inhale to show you where you hold tightness and each exhale to breathe deeper into the stretch.
Incorporating Lizard into your yoga practice can help to improve the flexibility of your hip ligaments and strengthen the muscles in your legs.
Come into a low lunge, bending deeply into the front knee. Keep your back toes tucked and knee lifted. Bring both hands to the inside of your front foot. For the full expression, come down to the forearms.
Don’t worry if the forearms can’t come down onto the mat just yet. Work on softening into the hips as much as possible. Stay in the pose for 8-10 breaths before slowly coming back out.
Yogi Squat (Malasana)
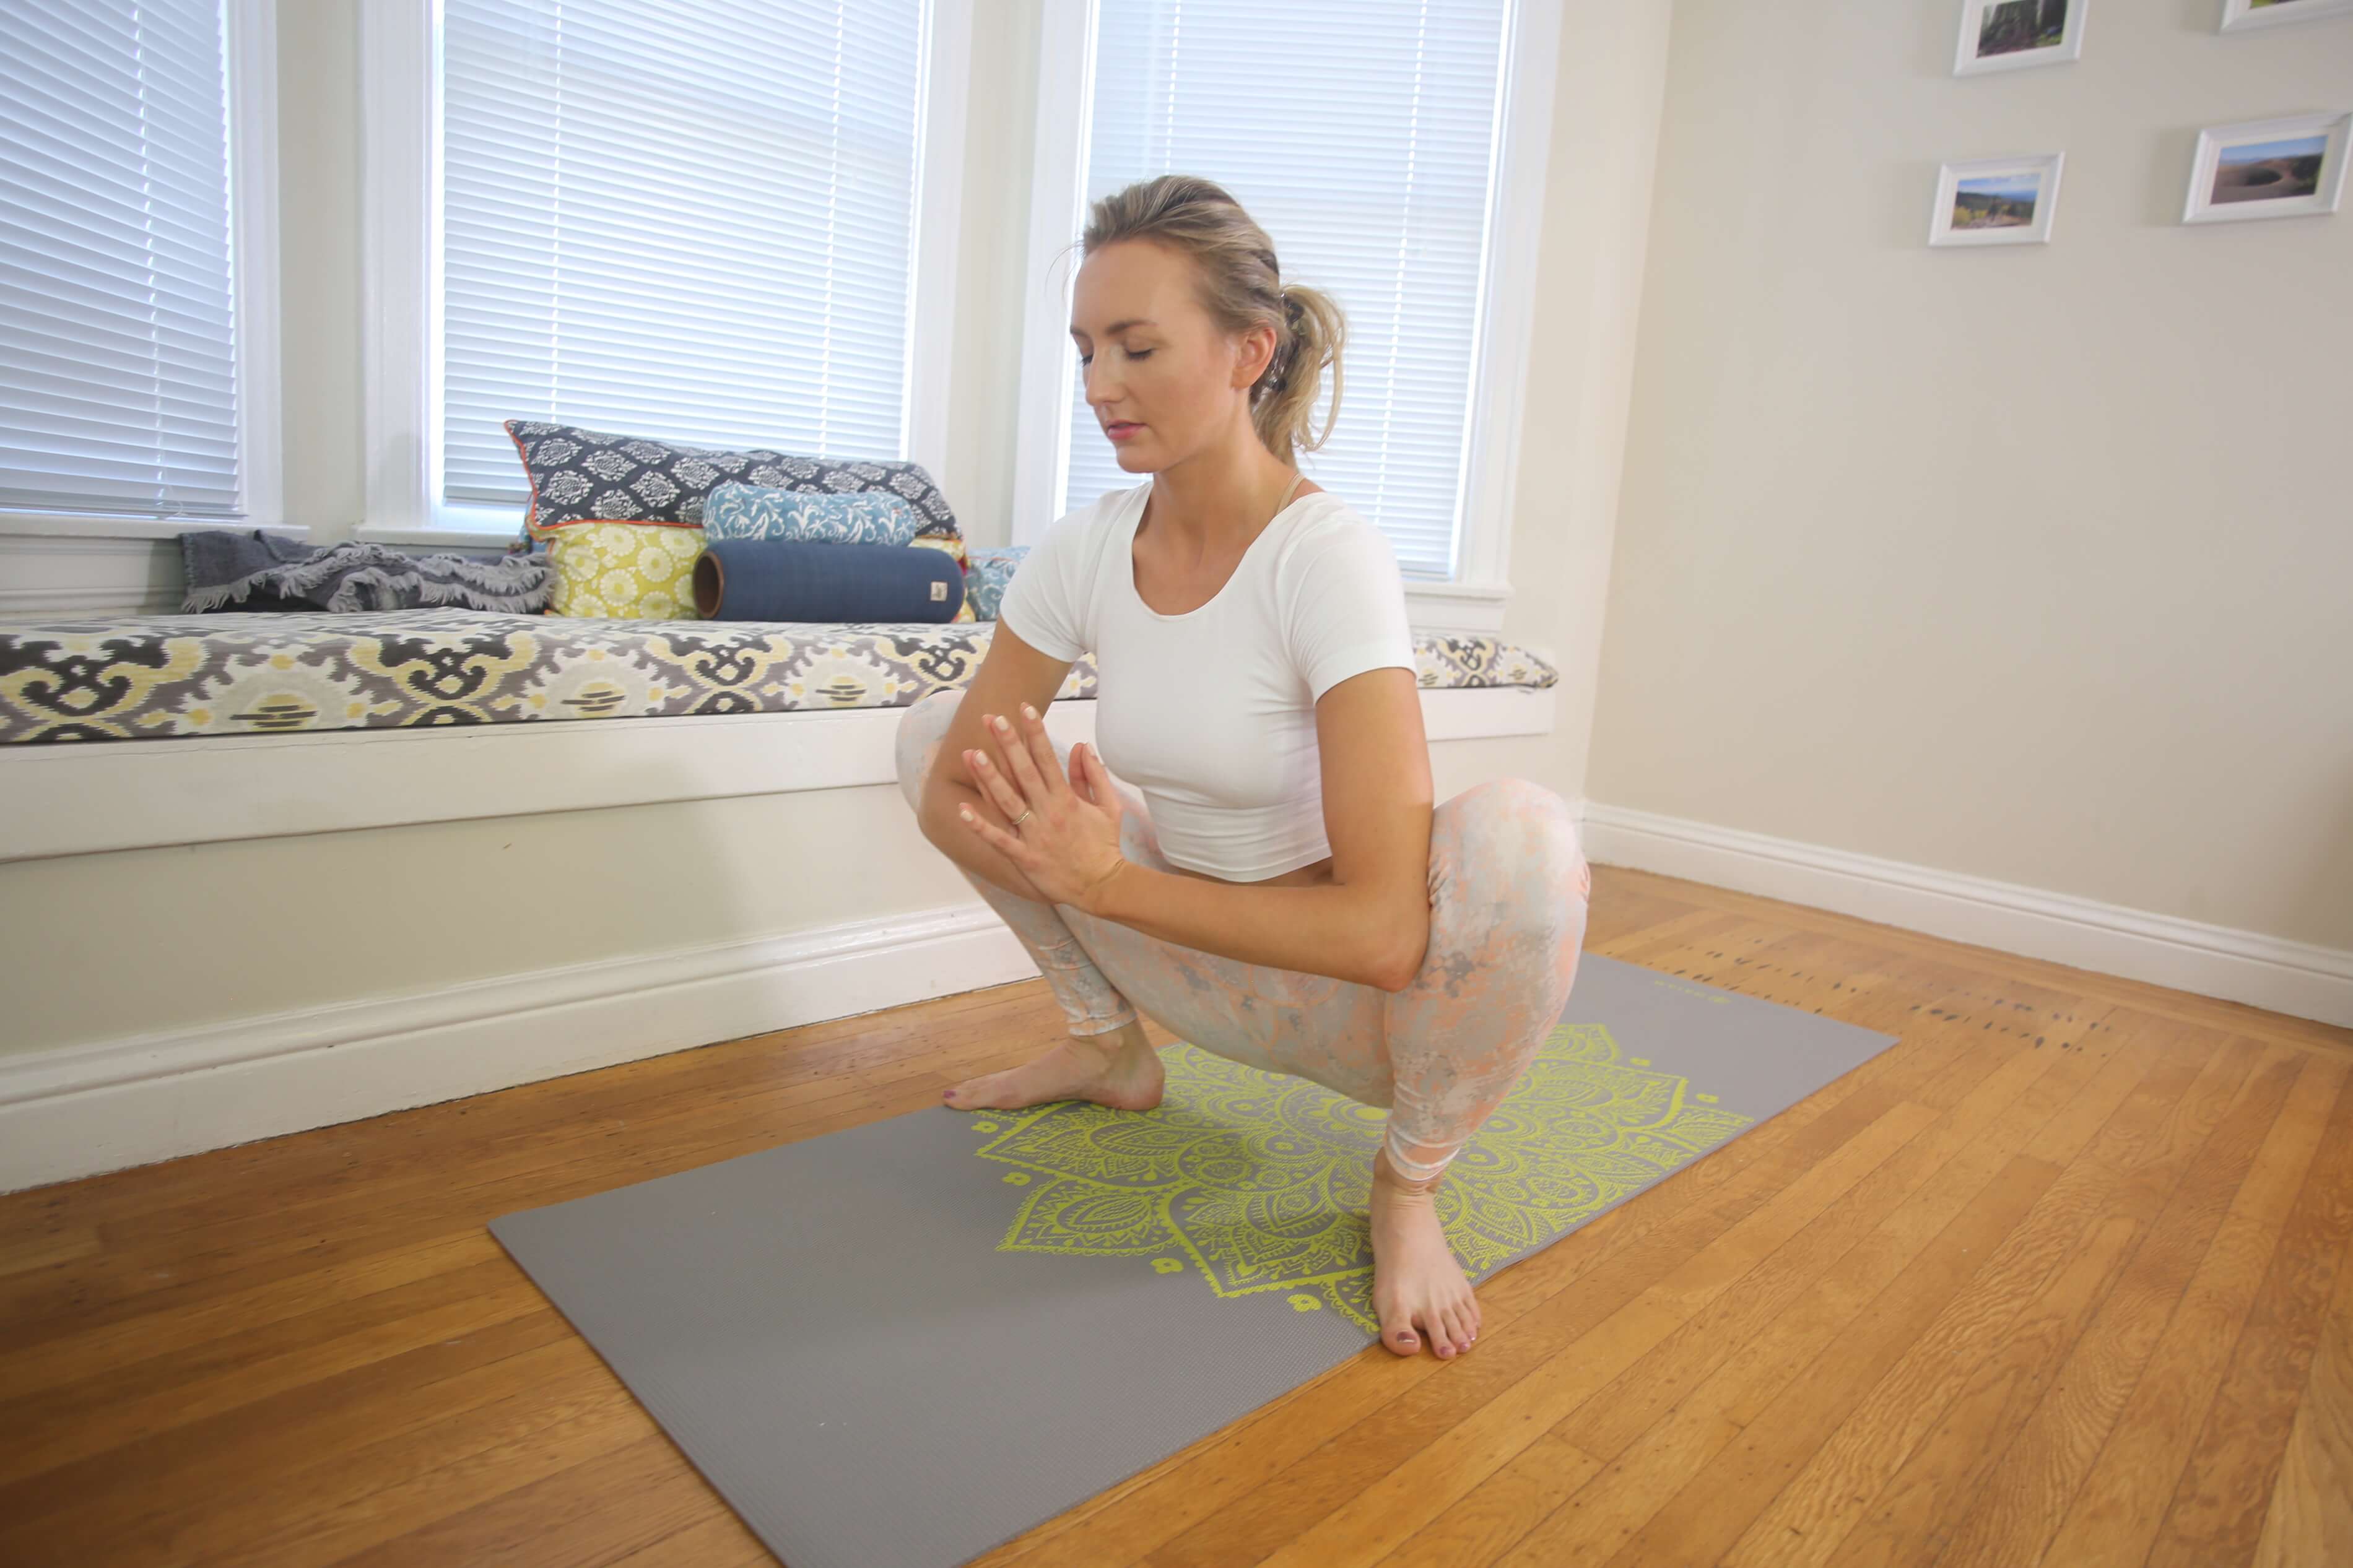
So simple yet so effective, malasana is an easy pose to come into any time during the day. Placing a block or something to sit on will lessen the intensity of the stretch. This might allow you to stay in the pose longer and feel more of its benefits.
Stand with your feet hip distance. Turn your toes slightly out. Squat down and bring your hands together at your heart. Use your arms to gently push your legs open more and deepen the stretch.
Unfortunately, there is no quick fix for tight hips. It takes consistent work and stretching on a daily basis. Flexibility will come in time, so honor where your body is at and don’t force any poses. It is ok to feel some discomfort during stretches, but sharp pains can be the indication of an injury.
As with all poses, the most important aspect is the breath. With regular daily stretching and deep breathing, you can have happy, healthy (and open) hips.
Best Yoga Poses For Psoas Relief
So the psoas is the most important muscle region in the body. So how do you stretch it?
These are my favorite poses for psoas relief. You can easily incorporate them into your daily yoga practice by holding these poses for slightly longer than you’d normally do. Over time, you will lengthen and stretch the psoas for long-term relief.
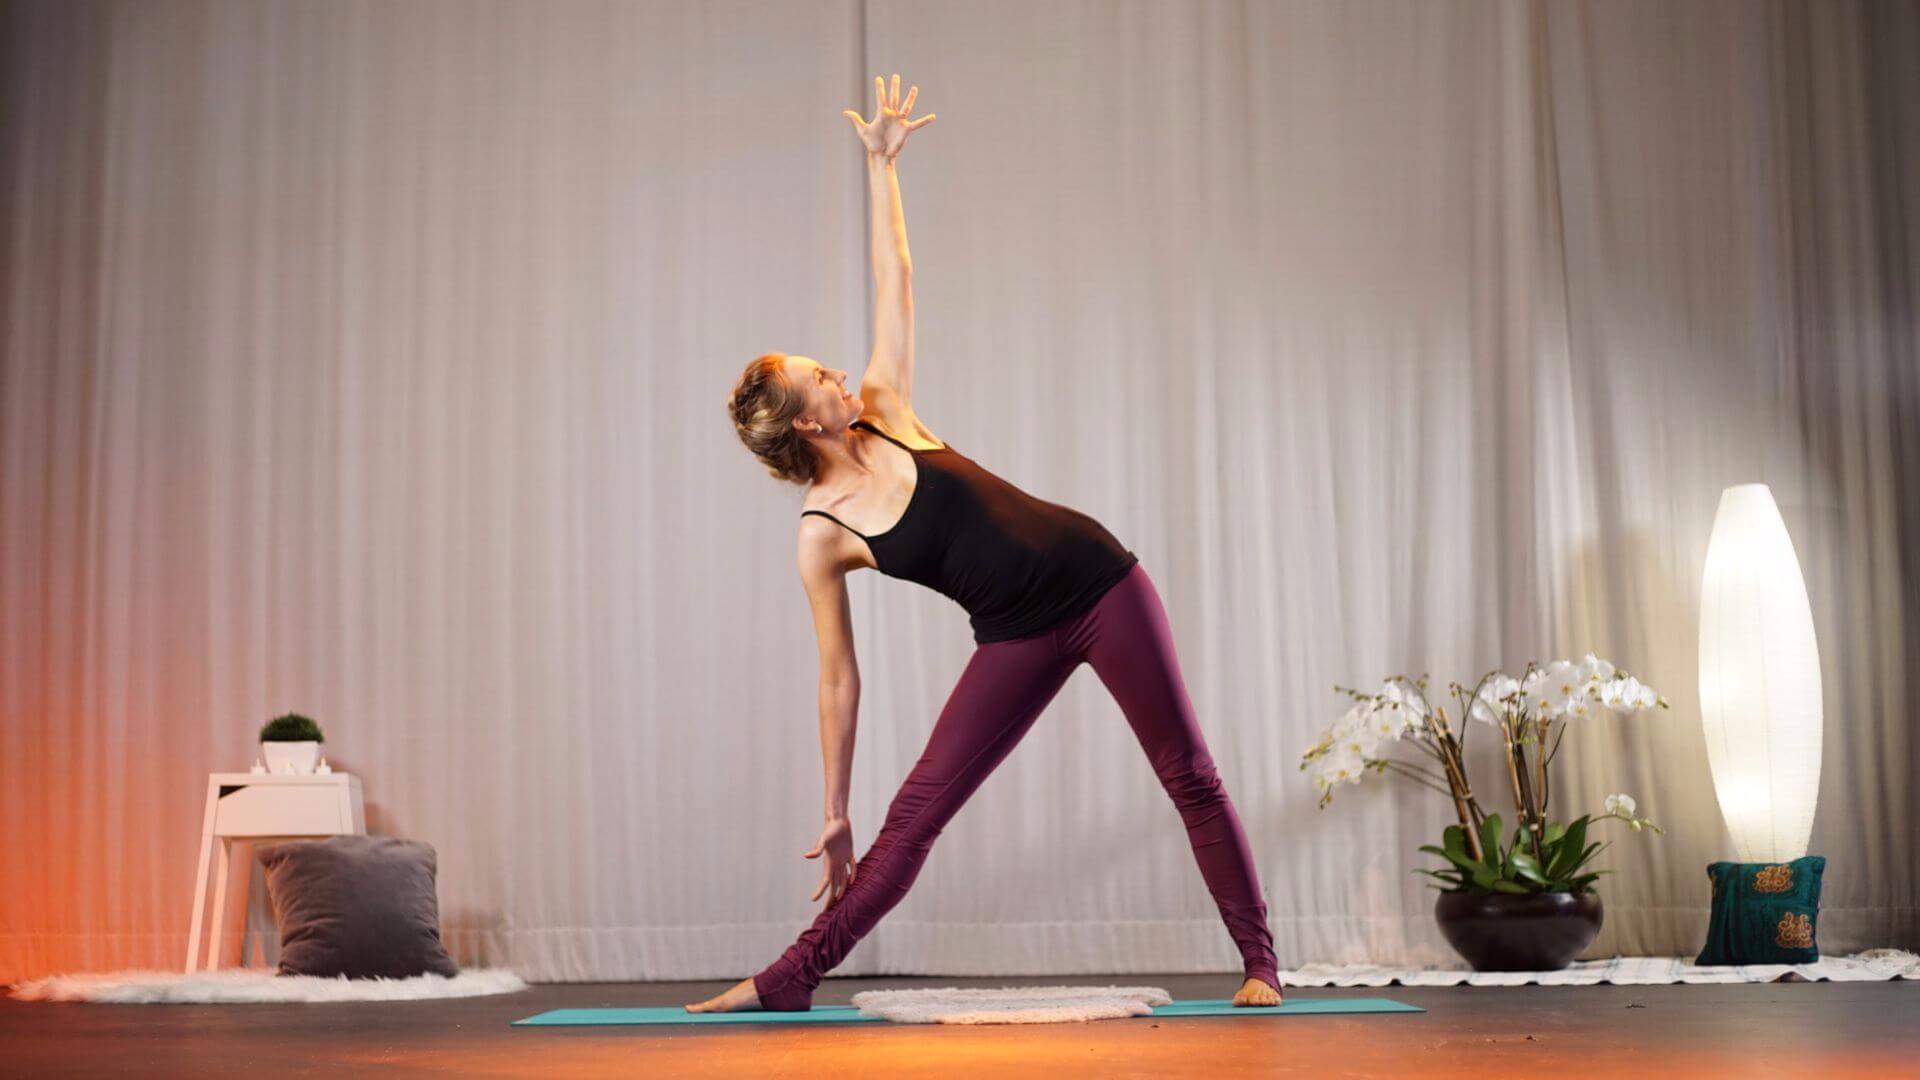
In addition to opening your hips and shoulders, triangle pose helps to strengthen the core. The psoas is a part of the core, so you’ll help strengthen it in this pose as well.
Step your feet about 3 ft apart. Turn the front foot forward and the back foot parallel to the back edge of the mat. Align the front and back heels. Bring your arms to the sides and extend your torso over the front leg.
Rest your bottom hand to your shin or the floor. Root down into your feet and lift your kneecaps to keep the legs engaged. You can use a yoga block on the floor to support your bottom hand.
Camel Pose (Ustrasana)

Camel pose works in the psoas in several ways. First, it strengthens the muscle by supporting the lower spine. The second way is that backbending motion works to lengthen the muscle. Lengthening and strengthening are both important for a healthy psoas.
Come onto your knees and bring them hip-width distance apart. Place your hands on your low back for support. Exhale and slowly press your hips forward as you begin to bend back. You can keep your hands supporting your back or rest them on your heels.
To protect your low back, focus on the extension of your thoracic spine. Hold for a few breaths, then use your core to gently come out of the pose.
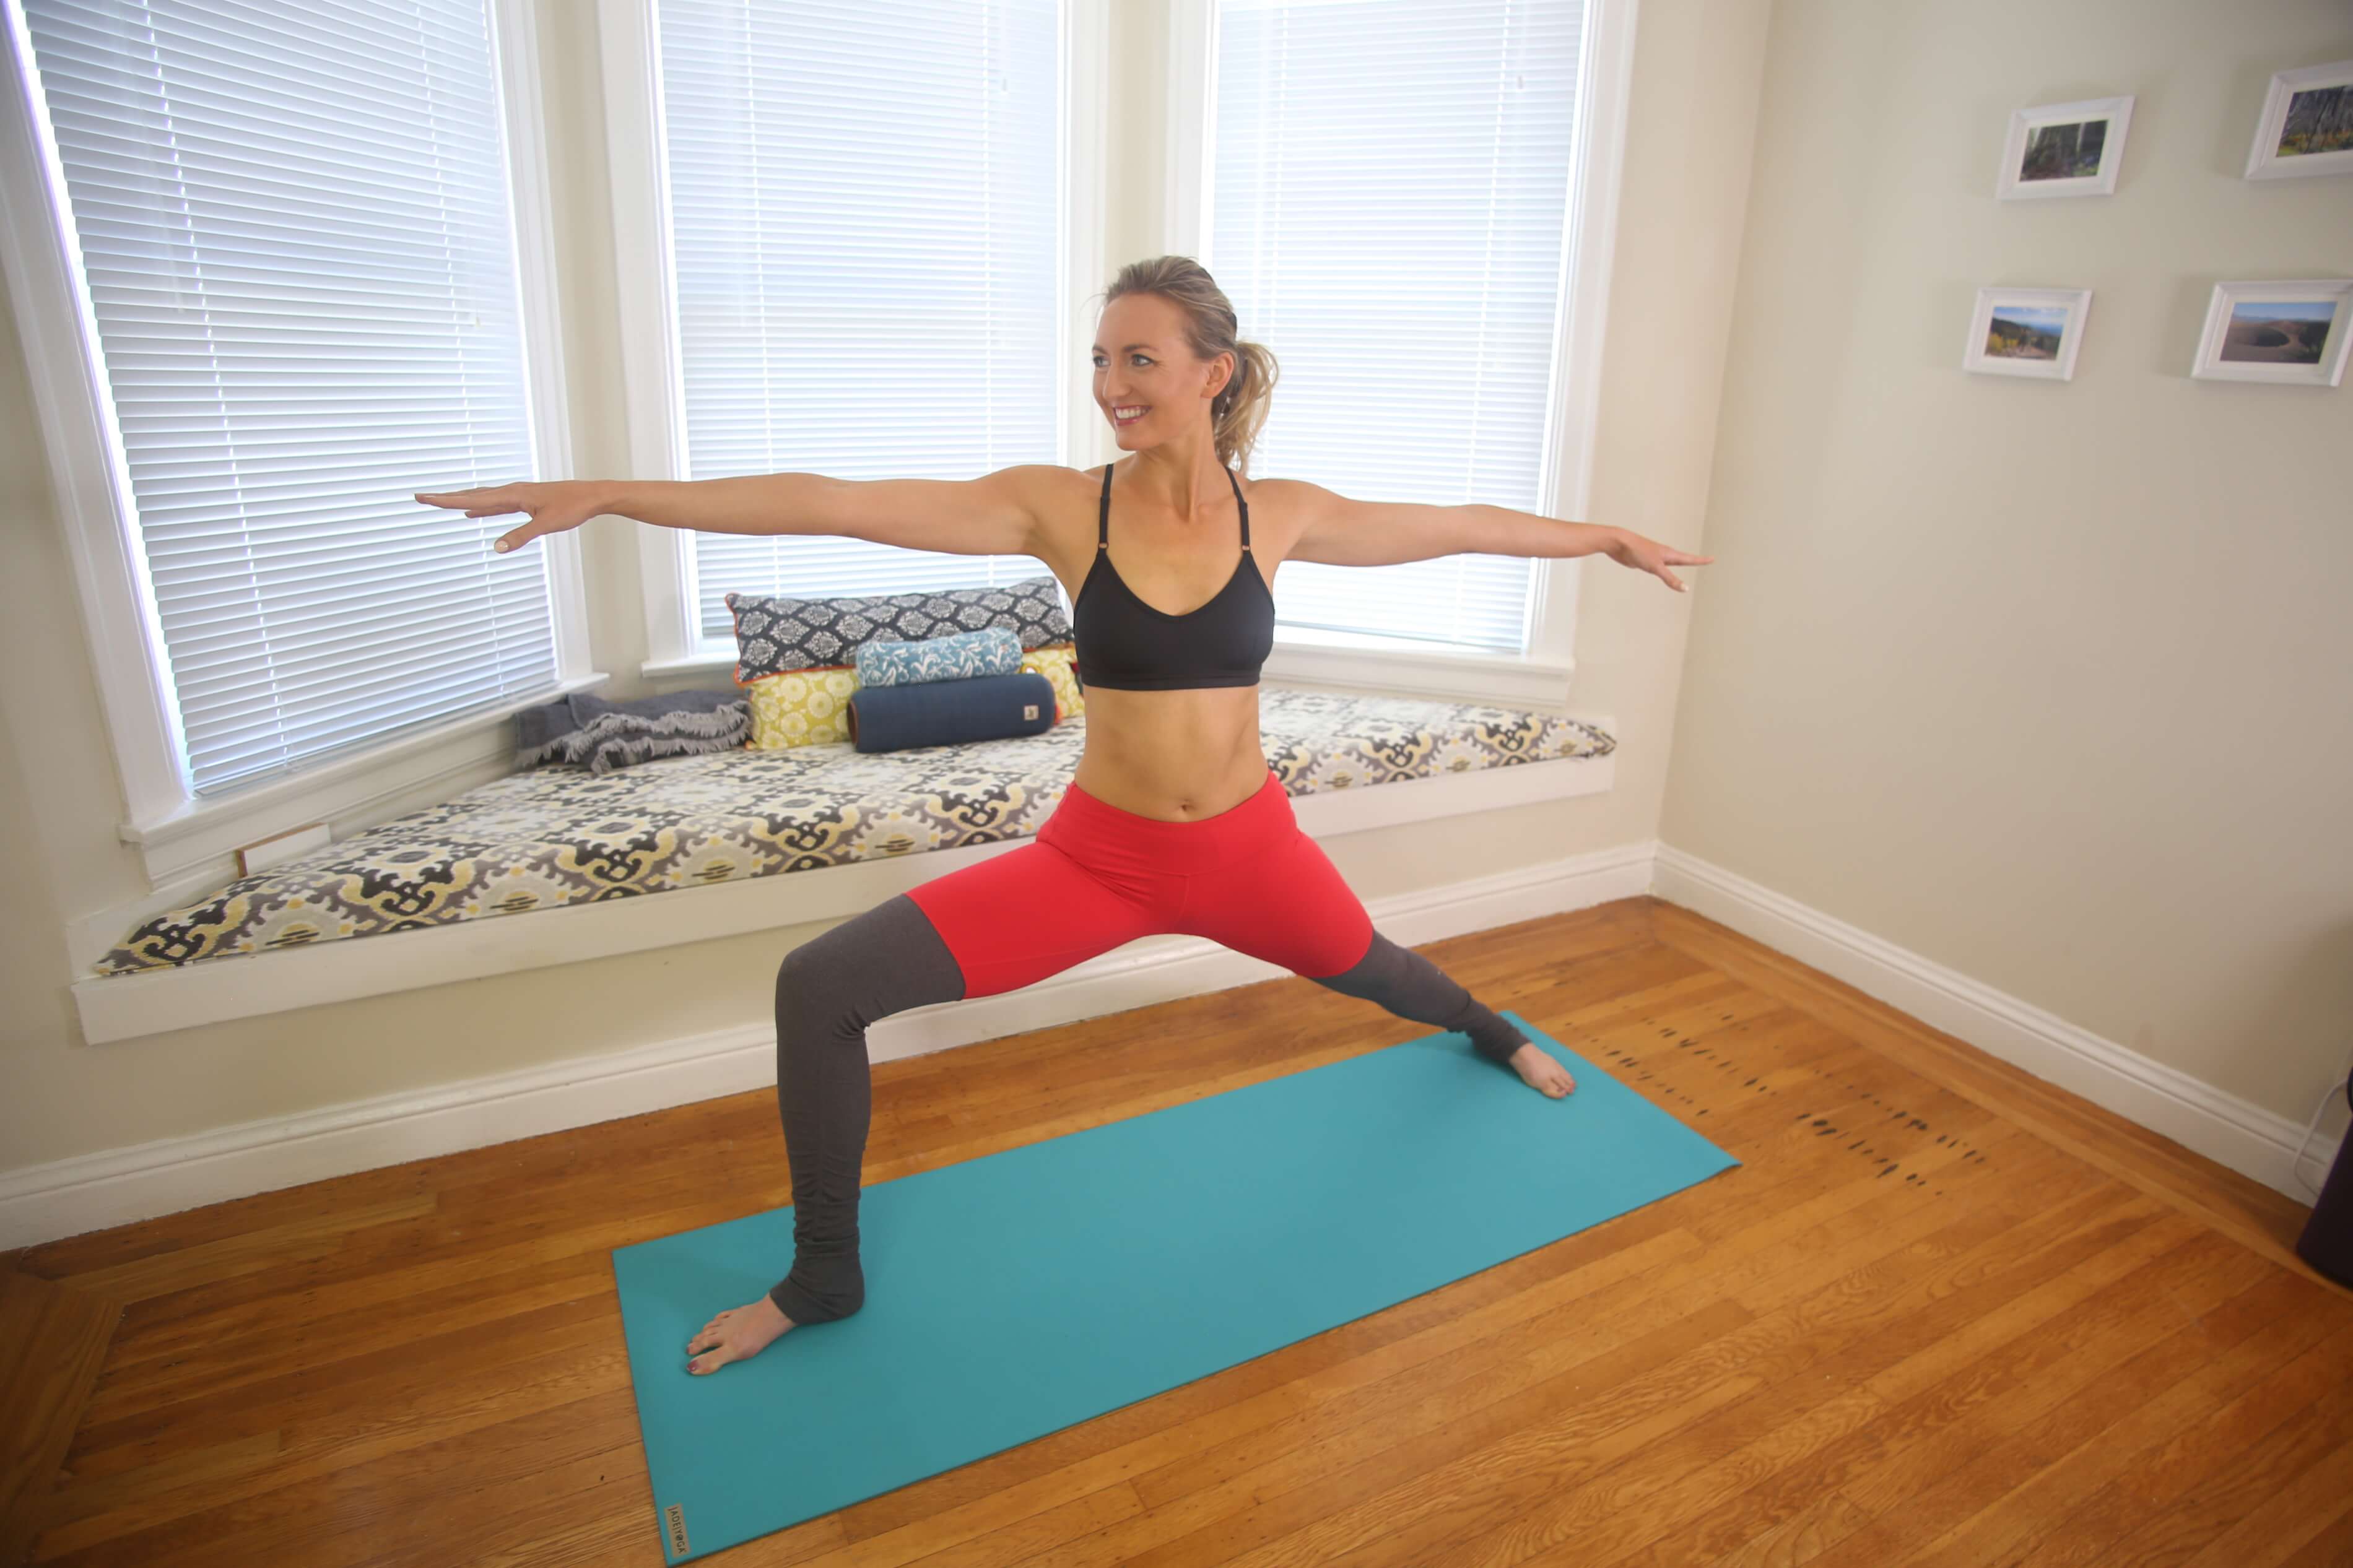
Warrior II opens the hips in two ways; by strengthening the psoas of the front leg and stretching the psoas of the back leg.
Stand with the front foot facing forward and the back foot in line with the back edge of your mat. Bend deeply into your front leg and keep the back leg straight and active.
This is what’s called an open pelvic position, so your hips should be open to the side of your mat. Rooting strongly into the feet will help you feel this opening sensation.
Keep your spine straight and extend your arms out to the side and gaze over your front middle finger. Aim to get your front leg to 90 degrees. This might not happen right away, so use each exhale to bring you closer.
Experience 3 Training Videos from Inside My 200-Hour Online YTT
YOU MIGHT ALSO LIKE
- What is Kriya Yoga? The Philosophy and Practice
- Uddiyana Bandha: Tapping Into Your Deep Core
- 4 Reasons Hasta Bandha Is Essential To Your Yoga Practice
- Vitarka Mudra: What It Is and How Do You Use It?
- Shakti Mudra: What It Is and How Do You Do It?
- Garuda Mudra: What It Is and How Do You Use It?
- Kali Mudra: What It Is and How Do You Do It?
- Shunya Mudra: What It Is and How Do You Do It?
- Varuna Mudra: What It Is and How Do You Use It?
- Vayu Mudra: What It Is and How Do You Use It?
- Samana Vayu: The Energy of Balance & How to Access It
- Apana Vayu: The Energy of Release & Surrender
- Udana Vayu: The Ascending Wind
- Prana Vayu: The Breath of Vitality
- Vyana Vayu: The Energetic Secret to Flow
Learn how to do 11 of the most popular yoga poses correctly. Free video + PDF download.
