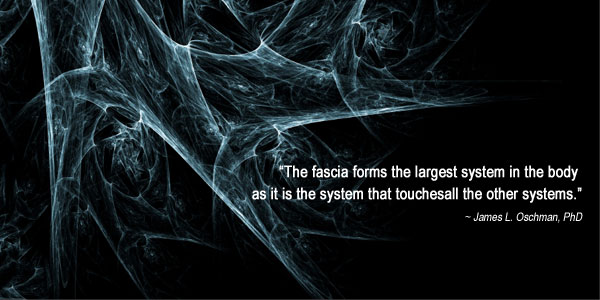
As science has been advancing you may be hearing more and more about your fascia, the connective tissue that holds your body together. You might have also heard about how your fascia affects pain and stiffness in the body. If you’re like me you’ve instantly looked up myofascial release therapists in your area and have booked your appointment!
But while you wait for your appointment with your myofascial release therapist let me tell you how you can perform myofascial release at home.
Yep, that’s right you can do self myofascial release!
What Is Self Myofascial Release (SMR)?
Myofascial release therapy is the act of releasing or breaking up fascial build up/trigger points through the body. Therefore, self myofascial release is when you do this on your own generally at home with the assistance of certain tools.
But WHY would you need to practice SMR?
Self myofascial release is often used as a recovery technique. Especially in sports physical therapy. But you don’t have to be an athlete to benefit from myofascial release. Think of it this way, if your fascial system is a set of wires controlling everything in space. One tight wire messes with the entire system. Exercise is not the only thing that can create tightness. Habitual bracing patterns and repetitive motions/movements will do this as well.
Hello desk job!
Things like typing at a computer all day can create tension in the fascia surrounding the hands, the neck and shoulders. Or if you’ve experienced trauma in your life, whether it be physical or emotional, your fascia will have responded in some way causing discomfort and tightness or even myofascial pain syndrome. This is why literally everyone can benefit from myofascial release.
This is all information I go into detail about in my 200-Hour Online Yoga Teacher Training. I even have leading experts like Tom Myers to help teach the module on the fascia.
Experience 3 Training Videos from Inside My 200-Hour Online YTT 👇
Benefits Of Self Myofascial Release
The effects of myofascial and self myofascial release are still being studied, but more and more information is pointing to its positive effects.
Some studies have found self myofascial release most beneficial as a recovery tool for increased joint range of motion and mobility. Other benefits include:
- Reduced pain
- Reduced risk of injury
- Improved joint flexibility
- Increase blood flow
- Better posture
- Reduce muscle soreness and delayed onset muscle soreness
- Emotional release
- Better athletic performance
One of the best parts of SMR? It can take as little as 2 minutes of work to start seeing benefits of self myofascial release. WOW! That means you don’t have to take a large portion of your time to do this work and see improvement. Gotta love a practice where you can feel the difference in just a short time.
Best Self Myofascial Release Tools
When doing self myofascial release it can be nice to have a little assistance. This is where myofascial release tools come into play. And while there is research stating it is inconclusive on whether myofascial release tools actually work there are many different types to choose from. You be the judge, it never hurts to give it a try. I know I have some tools that I absolutely love and use regularly 😍.
Here is a list a few popular tools for self myofascial release:
Tennis Ball/Massage Ball
I love these soft bumpy ones. I literally use them all of the time. Massage balls are a great way to apply pressure to a specific trigger point. They are small enough that you can take them anywhere and versatile enough to use practically anywhere on the body. I will lay on my back with a ball under my hip, or roll onto my side and place the ball in the curve of my underarm to get that soft tissue around my chest. They are the best!
Foam Roller
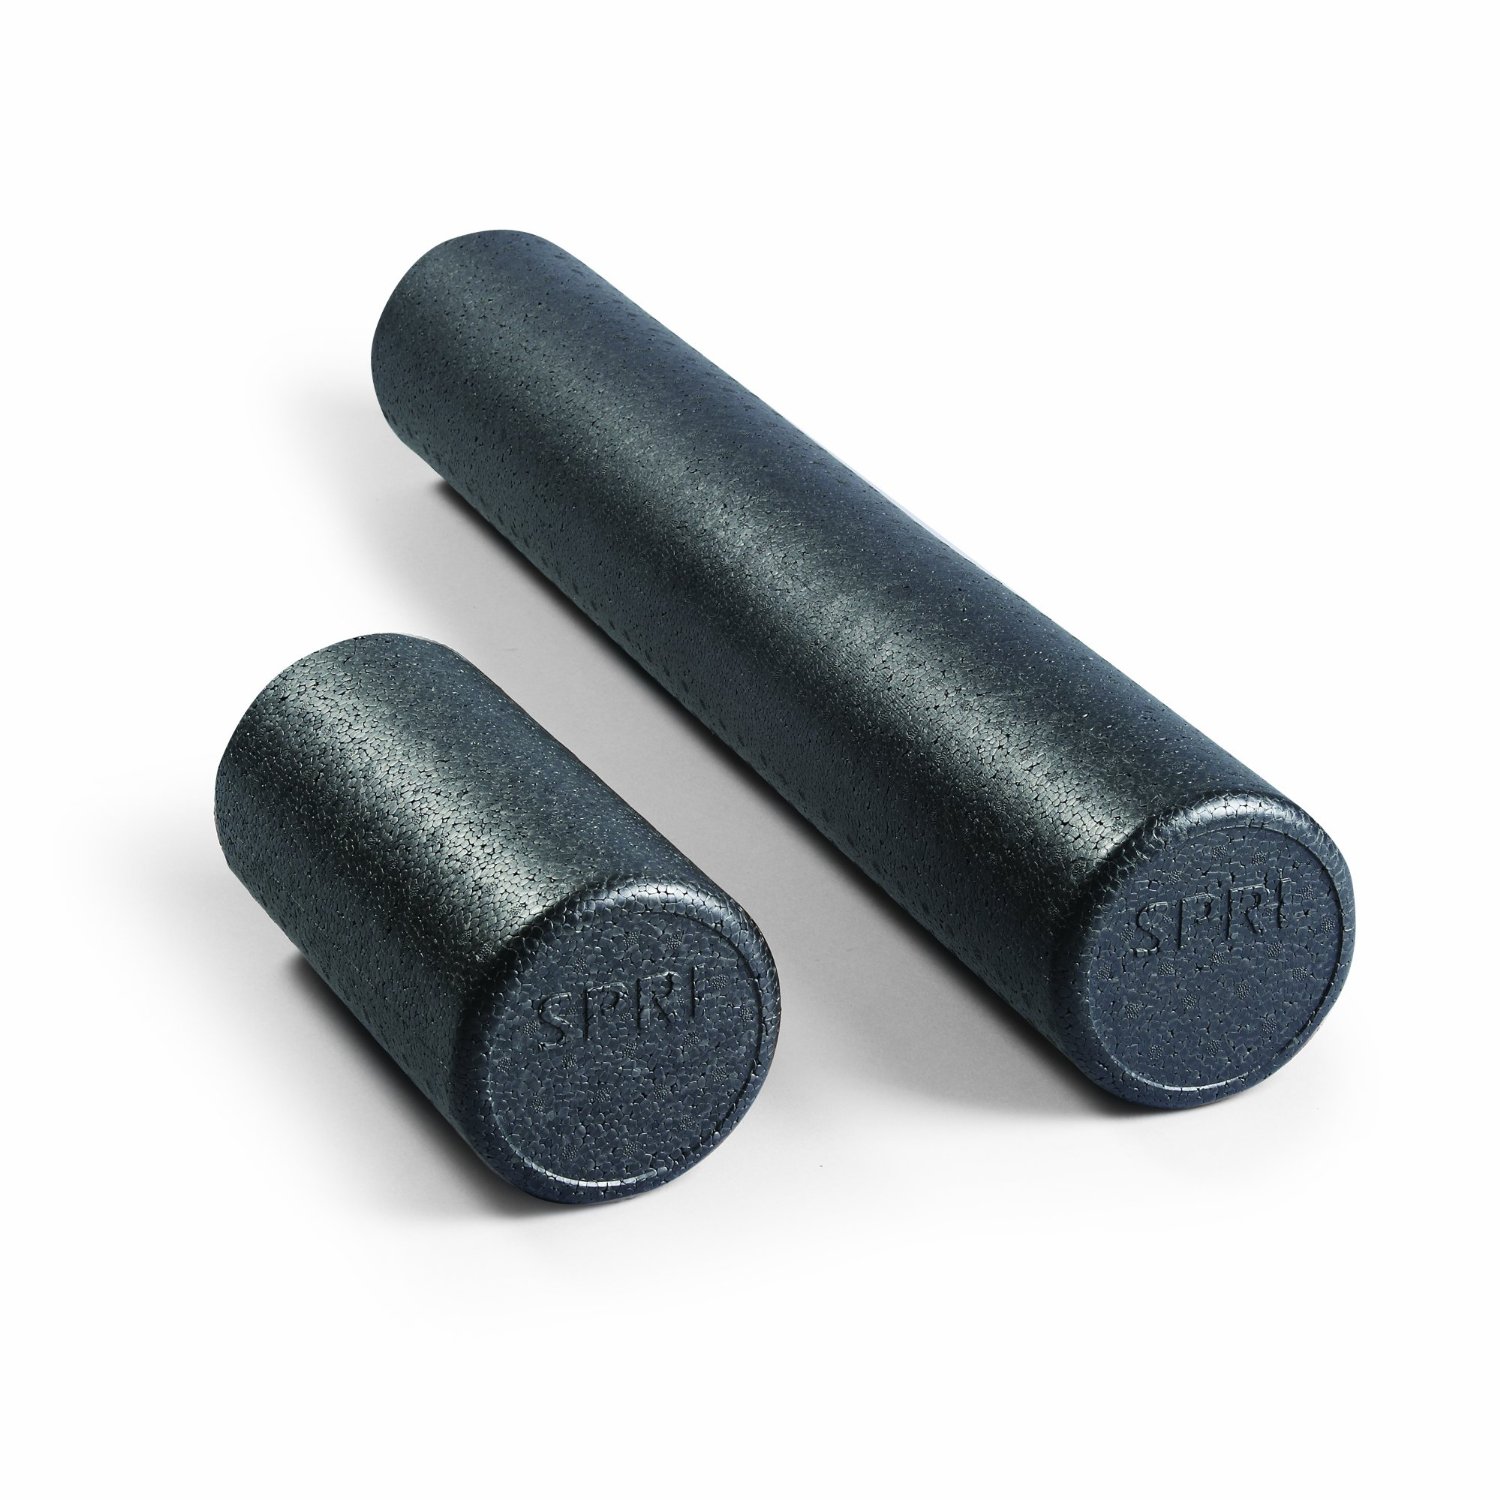
I’ll admit, even though foam rolling seems to be the most popular SMR tool I don’t use my foam roller a lot, but I am glad I have it for those moments when I really need to roll out my legs or outer hip area. Bonus: you can use a foam roller as a prop in your yoga practice too! You can find some pretty inexpensive foam rollers on Amazon.
Massage Stick
There are tons of massage sticks out there. You’ve probably seen some like this massage cane at the store. These are nice to get into those hard to reach spots like between the shoulder blades. They’re also great at applying pressure to areas of deeper fascia around your joints.
Scraping Tool
A scraping tool is a metal tool that you glide along the soft tissue as if you were “scraping” something off your skin. This tool is nice to work with the superficial fascia – fascial layer just under the skin. This makes it a great tool for breaking up scar tissue or adhesions. NOTE: Make sure that if you are using a tool like this you lubricate the area you are working with first. Use lotion or coconut oil to make it easier to glide the tool along those muscle fibers.
Craniocradle
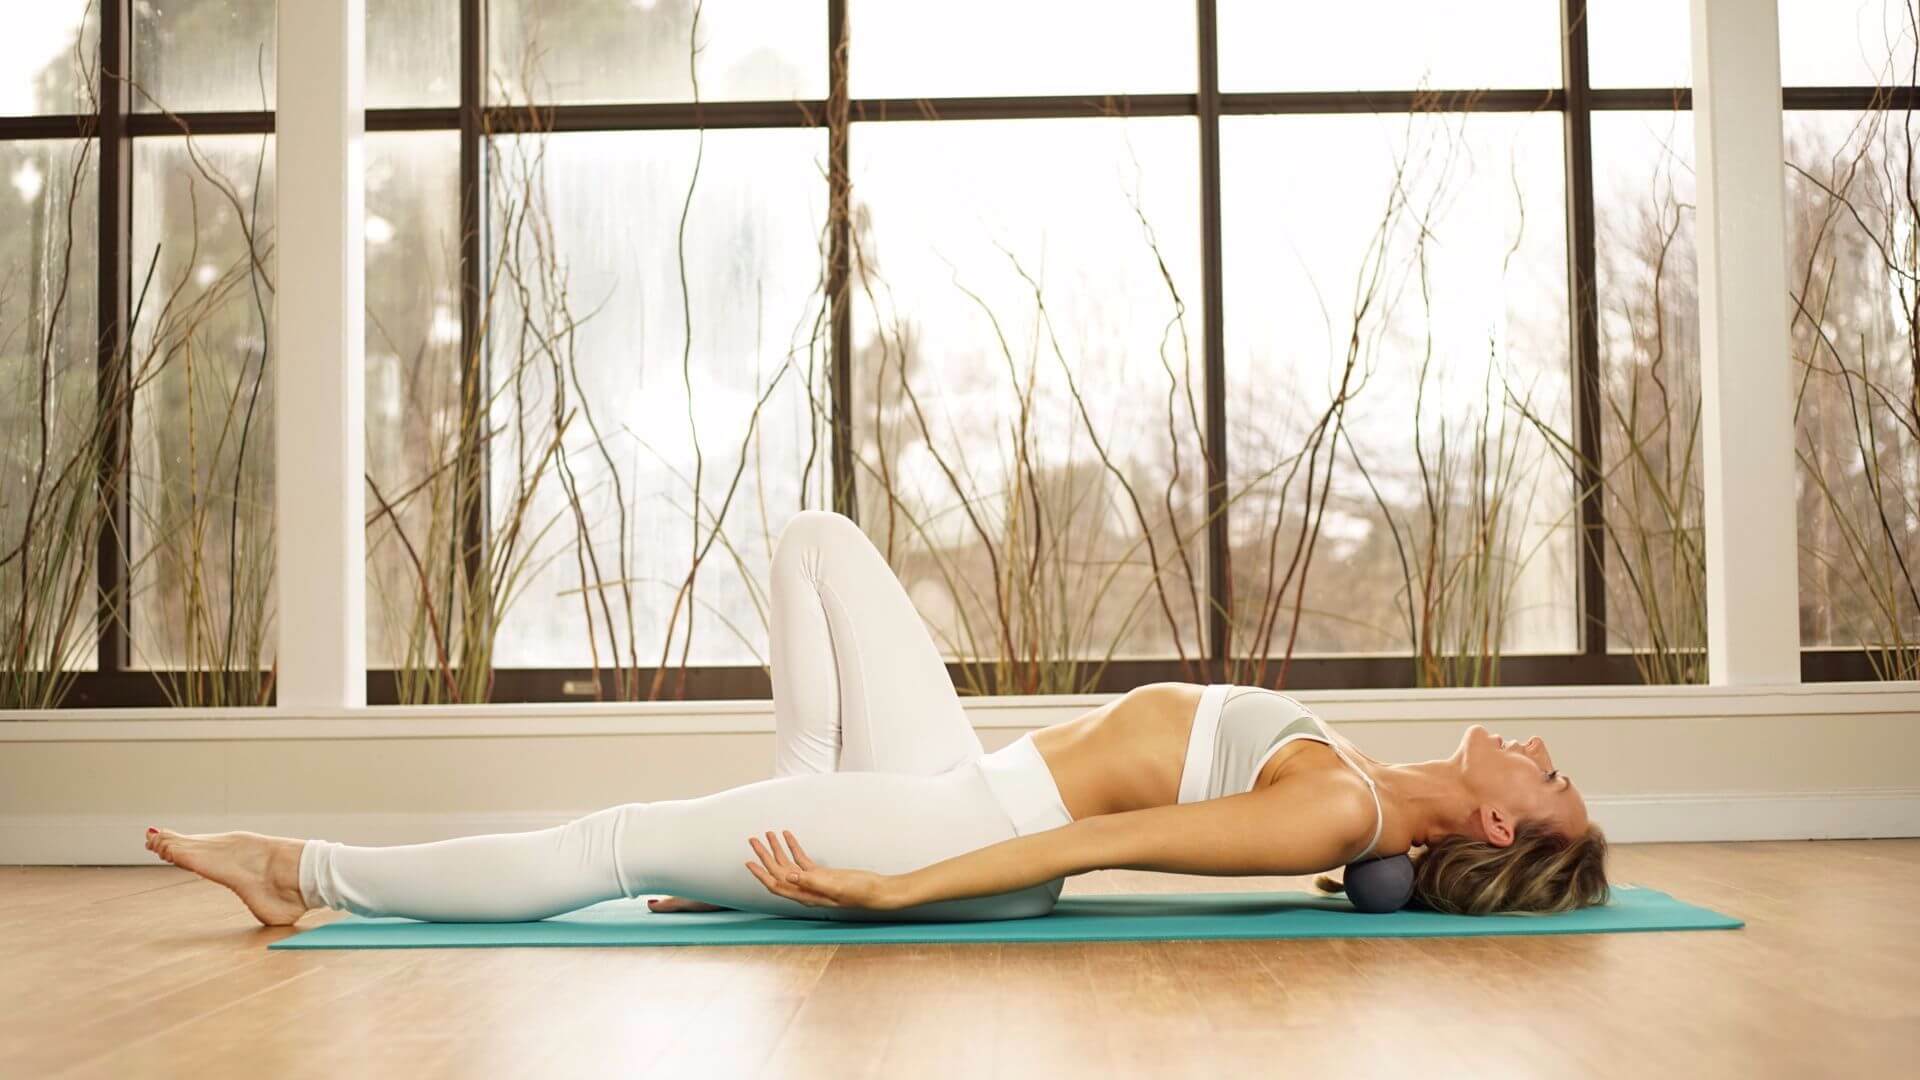
My personal favorite, craniocradle, is great for getting those trigger points in the neck that form from hunching over the computer or phone all day. It’s also extremely relaxing after a long day to lay on this device and feel the tension melt away.
Keep in mind that you don’t NEED any of these tools to perform self myofascial release. Don’t get discouraged thinking you need to spend a lot of money. All you need is your body! Give my fascial fitness series in the Uplifted membership a try and you’ll see exactly how.
Self Myofascial Release Techniques
When doing self myofascial release there are some important things to remember:
Don’t go too far – nothing should be terribly painful or impede your breathing. And although sometimes adding more pressure might feel good you don’t want to risk bruising yourself. Keep pressure gentle and light.
Try to relax – if you don’t feel safe then you can’t heal. This is because your body will stay in fight/flight/freeze mode. To get the full benefits of this practice you’ll want to make sure you are comfortable and relaxed.
Movement is your friend – A pilot randomized controlled trial found that foam rolling with movement rather than stagnant pressure had greater improvements on pain threshold and joint mobility. So while you may want to hold a spot for an extended period of time, once you feel it release or start to soften you’ll want to start moving. Either make micro movements massaging the area or move on to a new spot.
Now, let’s look at some SMR techniques for specific areas of the body that commonly hold tension and pain.
SMR for Neck/Shoulders
If you have a craniocradle then you just need to simply lay your neck on it. But if you don’t, you can achieve a similar effect by putting two tennis balls in a sock. You would then lay on your back placing the balls at the base of the skull with each ball touching on either side of the spine. Make sure not to put the balls on the bony areas. Ouch!
You can then take the same set up, tennis/massage balls, or grab a foam roller to work on the shoulders/upper back. Place your tool on the floor and lay back on it, position yourself so that you are putting pressure on the space between the shoulder blades. Cross your arms over your chest to open up that back and breathe. If this is enough, stay here. If you feel like you need more you can add some movement. Gently rock from side to side or place the soles of your feet firmly on the ground and lift your hips so that you can roll up and down.
SMR for IT Band(Iliotibial Band)
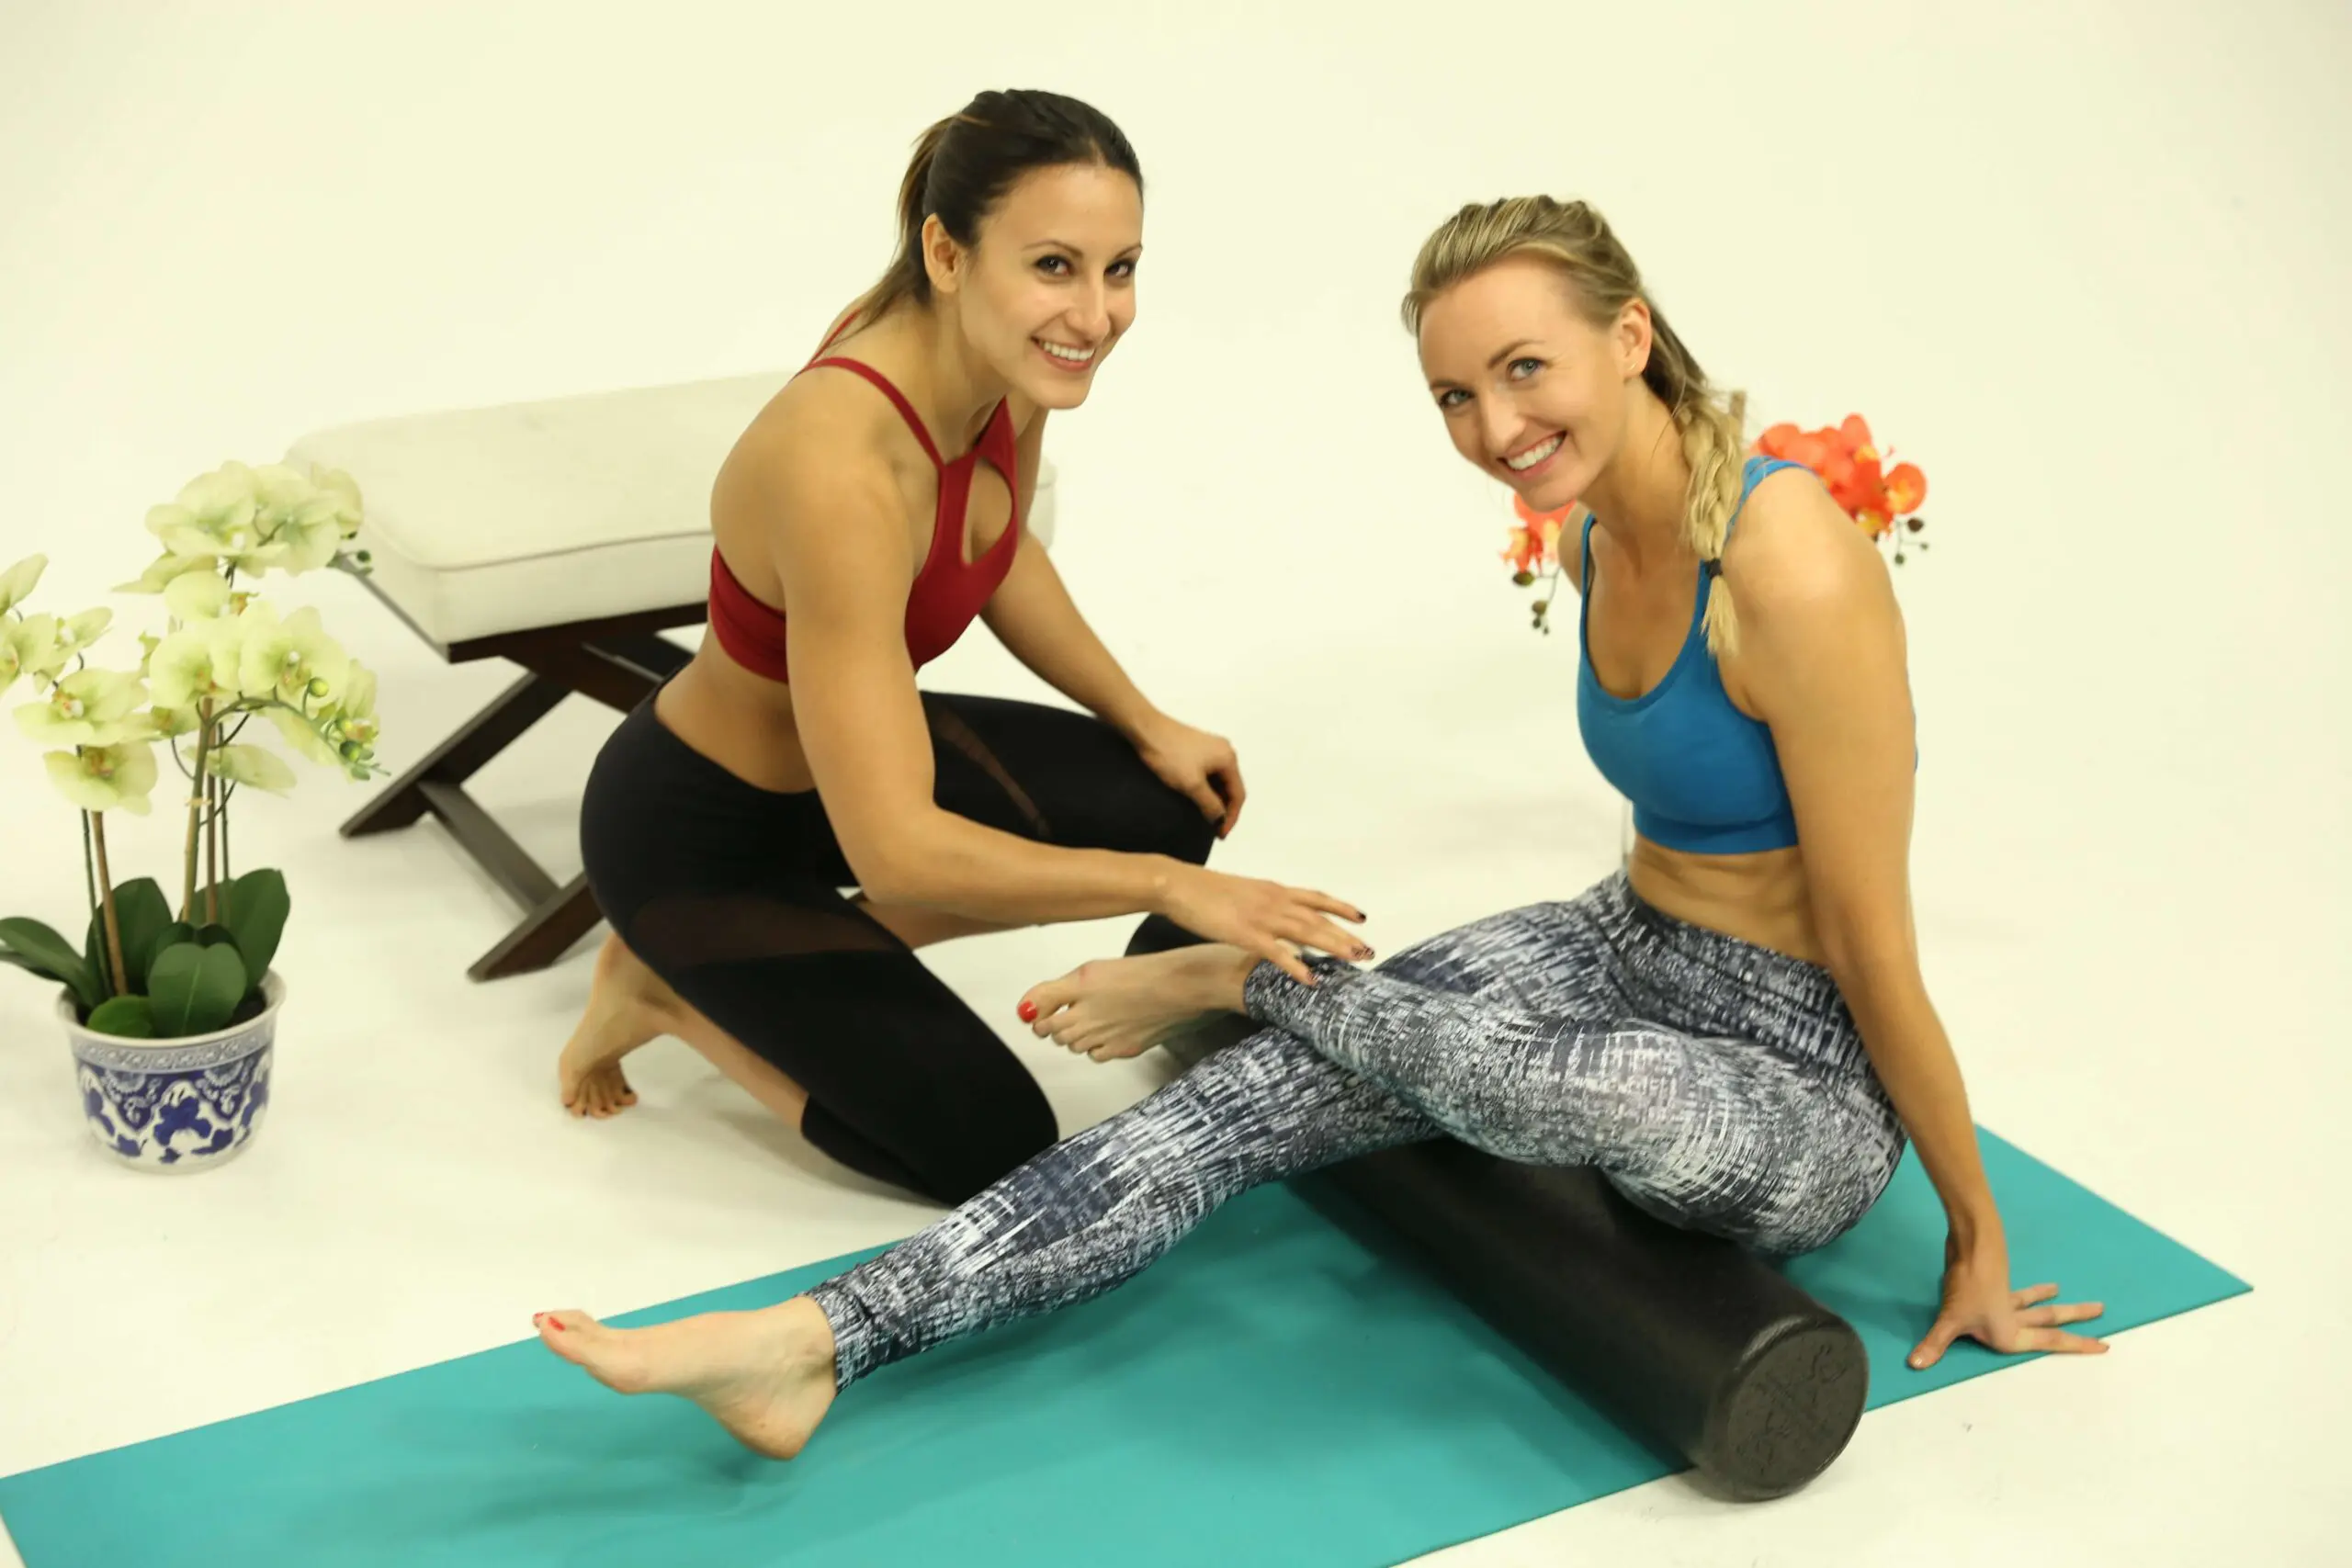
Our seated culture can make for tight IT bands(that big muscle running from the outside of your hip through your knee) – which can lead to pain down the leg and in the knees. You’ll want to use a foam roller to help release tension in this area. You’ll lay on your side positioning the roller just under the outer edge of the hip. Support yourself with your arms as you gently roll up and down the leg pausing and applying gentle pressure on any particularly sore spots. Don’t forget to do both sides!
SMR for Hamstrings
Sitting with the legs long in front of you, place your foam roller under your thigh. Place your palms on the floor behind you for support. Place the sole of your foot that doesn’t have the roller under the leg on the floor to slightly lift off the ground. Slowly and gently roll your tool along the back of the thigh to just above the knee. Stop on any sore spots and you can use rocking motions in this position as well. Just roll the muscle out for a couple of minutes and then switch sides!
How To Break Up Fascial Adhesions At Home
Foam rollers are great, and all SMR tools are wonderful for mobilizing the soft tissues of the entire body, but there are other things you can do at home to assist the healing process, reduce chronic pain and break up fascial adhesions.
Self Massage
Self massage is probably one of the best ways to do myofascial release at home. All you need is your hands. Use your hands and massage your feet, your legs, arms, or neck. Find those tense spots and create traction along them to help them soften and release. Or simply use your hands to apply pressure to sore spots. This not only helps you relax and release tension but it’s also a great way to connect with your body and increase mindfulness.
Move!
Fascia is fractal chaos – always in motion, joining and separating and MOVING!! Releasing and rejoining all of the time. This is why moving your body is probably one the most effective ways of breaking up fascial adhesions. Moving your body is going to help hydrate your fascia and keep it moving as well. Get up and do some mild exercises every hour or so of sitting. Whether that is just jumping up for some squats or hips rolls or pausing what you are doing for a 10 minute walk, your fascia will thank you.
Fuel Yourself Properly
A healthy balanced diet is great for your overall health. But making sure you are properly hydrated and eating plenty of good protein is going to help keep your fascia healthy too. Making it easier to manipulate and release.
Be Spontaneous
Fascial unwinding is spontaneous movement. You can do this on your own at any time to break up fascial adhesions. For example, shaking. Shaking is the body doing restoration and repair to release stored energy. This is why intuitive movement and somatic exercises are powerful practices for myofascial release.
RELAX!
Too much stress can manifest in the body with overactive muscles building up extra tension. This becomes a habitual bracing pattern and leads to fascial adhesions. Keep up with your yoga and meditation practice to counteract your stress responses and prevent adhesions.
Do the things that bring you joy, even if it’s simply standing with your face in the sun for 2 minutes. This will help not only your mind relax but your body as well keeping that fascia nice a mobile. And as I stated before, the more relaxed you are the easier it will be for those adhesions to release and your body to heal.
Closing Thoughts
As with most things this isn’t one and done work. Any time you have a big release or pivot it may not always stay, especially if it’s been misaligned for years. You have to follow up with it to get things to stay in alignment. I’ve said it before and I’ll say it again, have patience and just keep putting in the work. This amazing form somatic healing is definitely worth it!
Next Steps
- Take a deep dive into embodiment and somatic yoga with my Somatic Yoga certification program.
- If you’re interested in practical kriya yoga as a way to improve your daily life and relationships, check out my Yoga for Self Mastery course.
Experience 3 Training Videos from Inside My 200-Hour Online YTT
YOU MIGHT ALSO LIKE
- How to Teach Somatic Yoga: A Practical Guide for Instructors
- The Best Somatic Exercises for Grief: Find Healing Through Movement
- The Best Somatic Exercises for Anger Management and Emotional Release
- How to Teach Somatic Yoga to Beginners
- Best Somatic Yoga Poses for Emotional Release and Healing
- The Rich History of Somatic Yoga: From Origins to Modern Practices
- Somatic Yoga for Stress: Effective Techniques to Find Calm and Relief
- The Perfect Yoga Practice For Your Menstrual Cycle Energy Levels
- Enhancing Your Practice: The Benefits of Yoga and Nature Connection
- Gentle Somatic Yoga for Back Pain: Relief and Prevention Techniques
- How Somatic Yoga for Anxiety Can Help You Find Calm and Balance
- Somatic Stress Release Techniques for Emotional Balance
- Progressive Muscle Relaxation Meets Yoga for Deep Sleep
- 5 Somatic Hip Exercises For Beginners
- How To Relieve Myofascial Pain with Yoga: Heal and Prevent Muscle Tension
