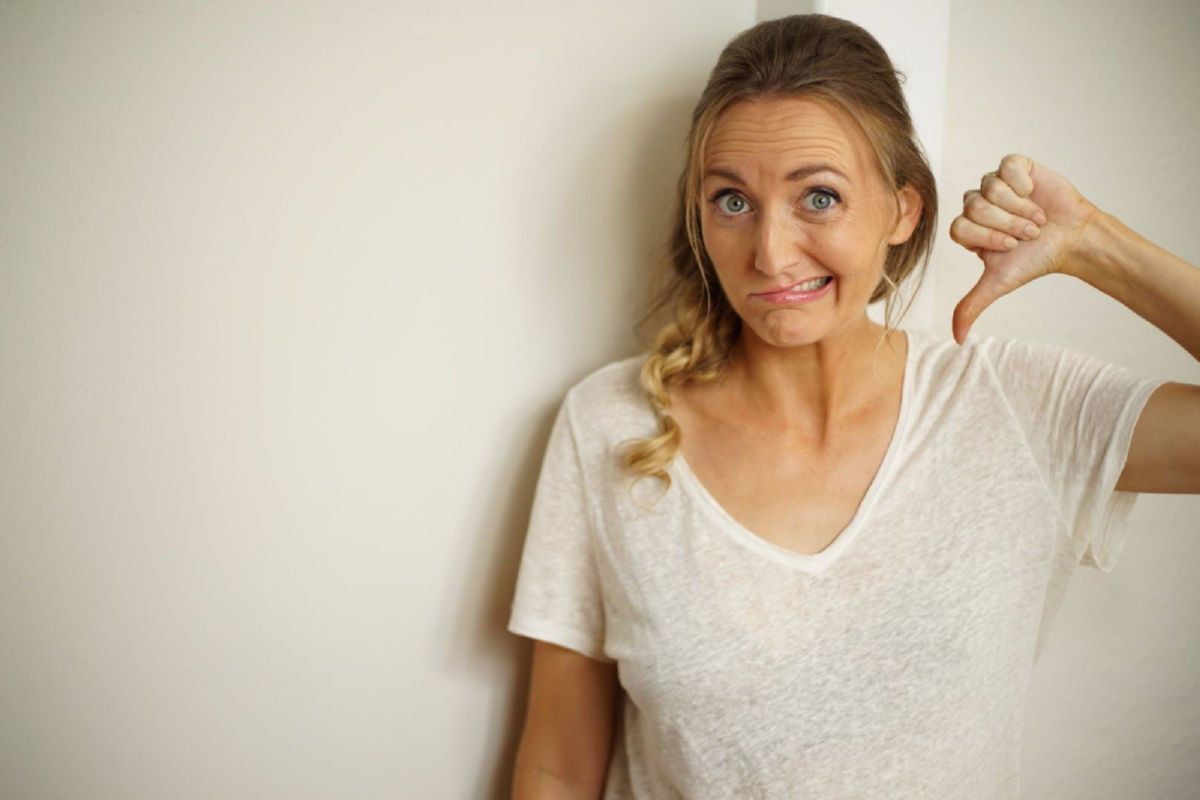
LIFE IS STRESSFUL!!! 

life is stressfull

Whether it’s good stress or bad stress it seems to be a part of our everyday life.

When all that chronic stress starts to build we start to feel pretty yuck, whether it be physical (headaches/exhaustion) or emotional (anxiety/mild depression) manifestation.

Yoga is a fantastic way to reduce stress and learn how to manage it more effectively. Whether you practice yoga at home or in the yoga studio there are some key yoga poses that can assist you in your calming journey.

Jump ahead:

10 Minute Gentle Yoga Class for Stress Relief

Looking for a yoga class to reduce stress?

Try this one for free:

YouTube video

Best Types of Yoga for Stress Relief

Really, any type of yoga can be great for stress relief. Moving the body helps calm the mind and focusing on our breath induces relaxation creating a stress relieving effect.

Here are three types that are exceptional to help you relax, reduce stress, and release:

  • Hatha Yoga: Requires us to slow down and really be in the pose for a moment. This allows us to connect with the breath and create greater body awareness. It is active enough for those who feel like they just can’t sit still but still requires you to slow down enough to go inward.
  • Restorative Yoga: Puts us in the most comfortable yoga asanas to release tension and relax deeply.
  • Yin Yoga: Increases circulation and releases tension deep in the body forcing us to slow down and sit with ourselves and our emotions so that we can work through them.

10 Top Yoga Poses for Stress Relief

life is stressfull

Here are a few yoga poses for stress relief:

1. Easy Pose – Sukhasana

easy pose Sukhasana
  • Step 1: From Dandasana(sitting legs extended) fold the legs in towards the body crossing at the shins.
  • Step 2: Find a neutral pelvis, sit with a tall spine and a small dip in the chin.
  • Step 3: Place palms in the lap or hands rest on top of the thighs. Deep breaths.

Variations: Place a block under your seat to make the position more comfortable or sit with the back to a wall to maintain a straight spine. If your knees are up high you can also roll a blanket and place it under the knees.

Benefits: Sukhasana creates greater body awareness, stretches the inner thigh and groin area and requires mild core engagement. It will reduce stress in the body and mind which makes it a nice start to relieve stress from the day. 

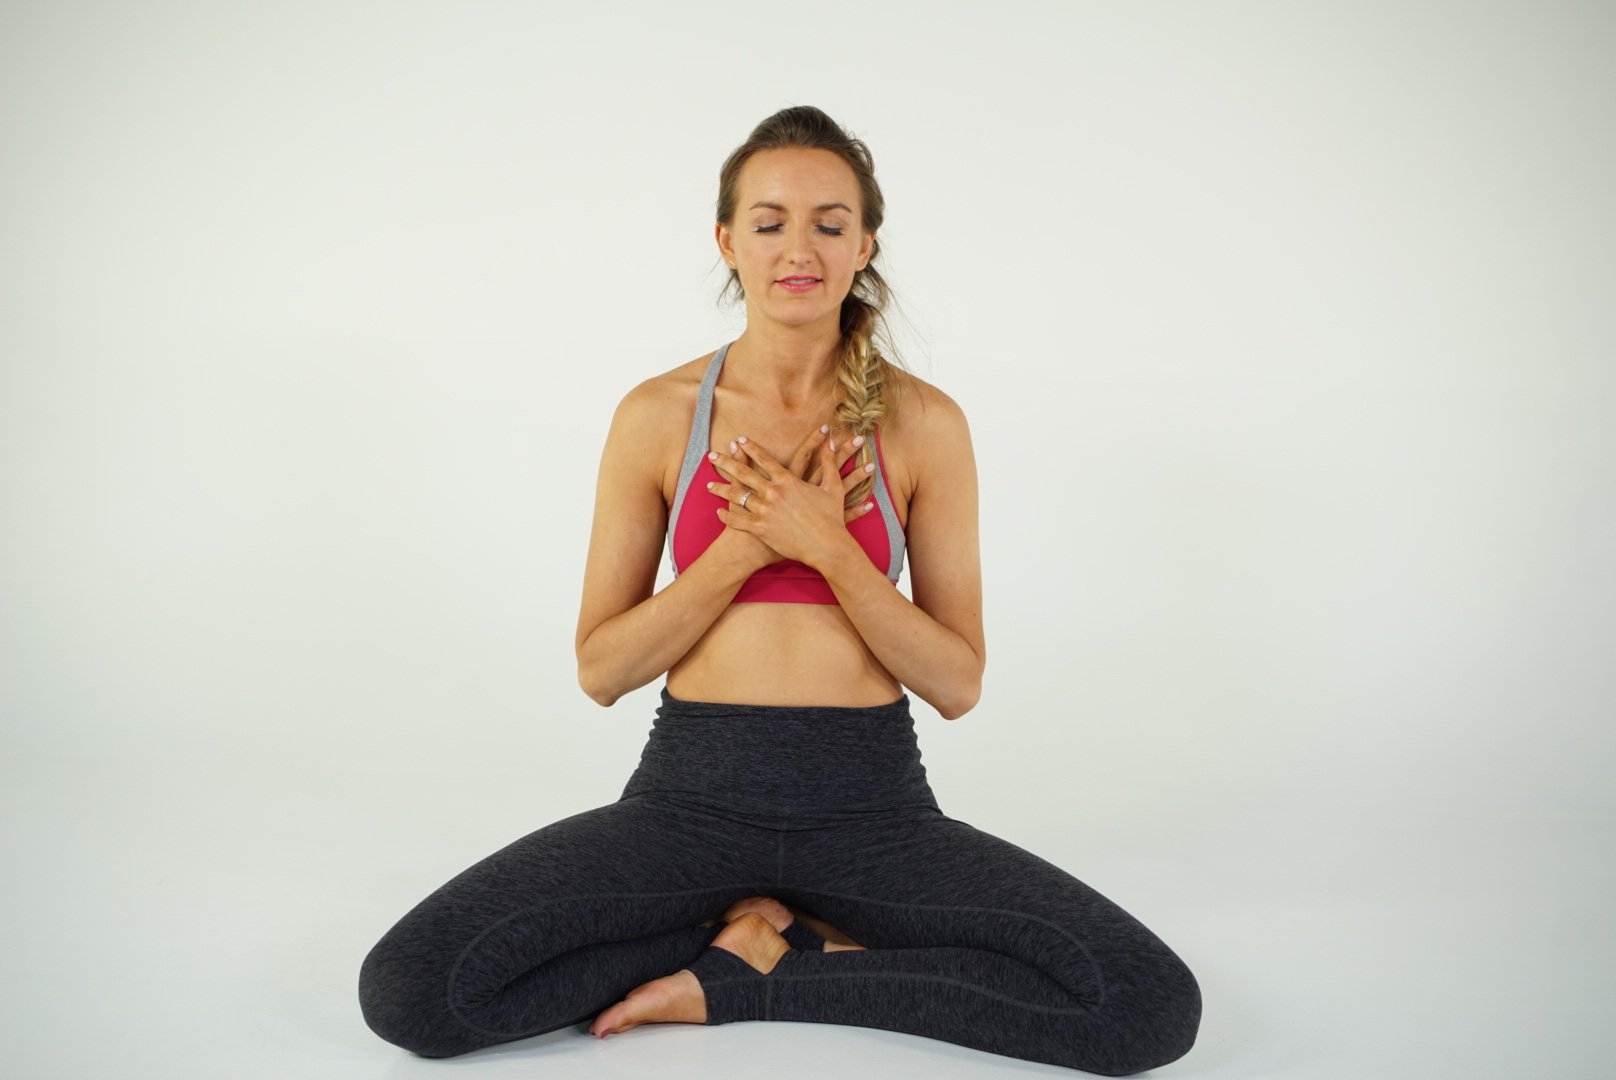
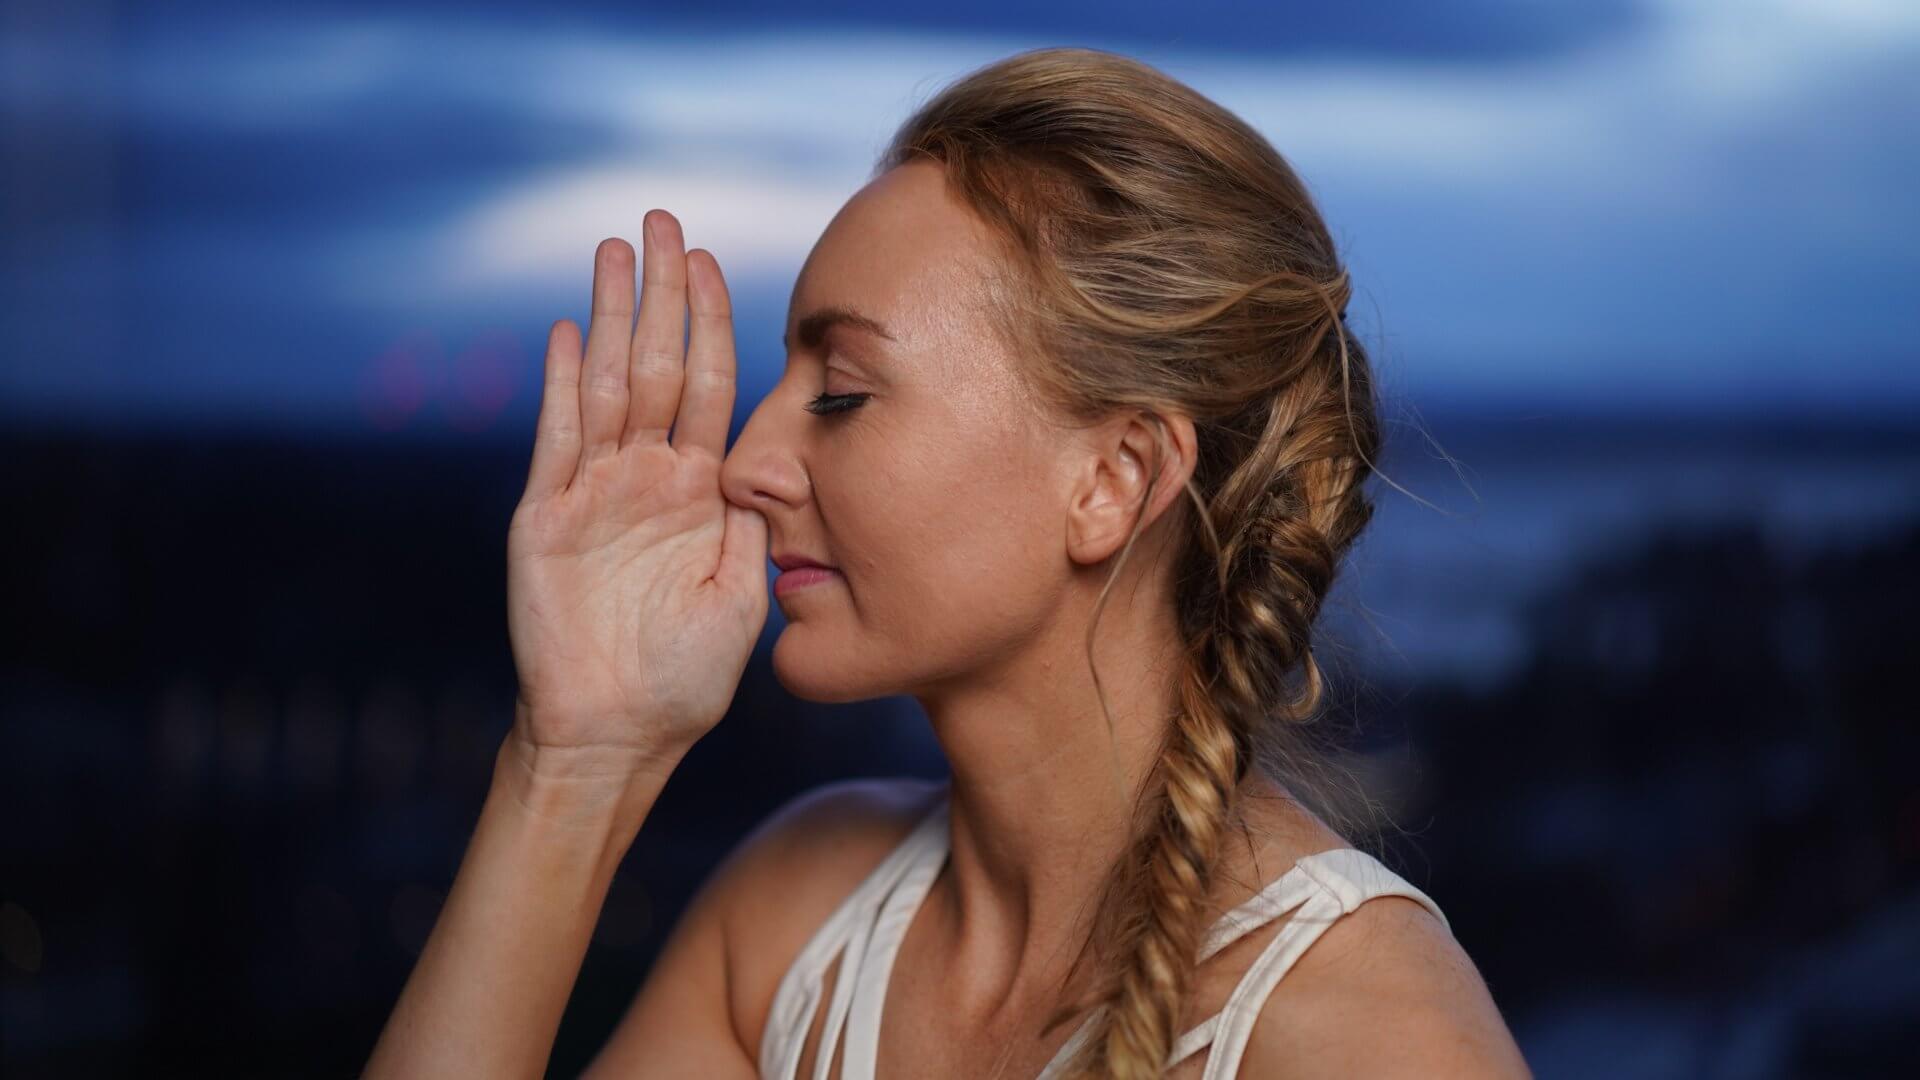
2. Breathwork – Pranayama

calming pranayama brett larkin
  • Step 1: Begin seated. Spine straight.
  • Step 2: Place one hand on the belly, one hand on the chest.
  • Step 3: Inhale into your belly, ribs and chest as much as possible, slight pause.
  • Step 4: Exhale, let all these areas release completely. Repeat.

Variations: This is a simple full complete breath exercise. Check out some of the different breathing techniques in this blog post: Calming Pranayama for Clarity, Focus, and Peace

Benefits: Breathing deeply is soothing and draws our attention inward. It allows us to slow down and clear our heads so that we release stress and focus our attention. When we feel really stressed out our mind feels like it just will not stop. Taking a full complete breath or trying a calming pranayama can deactivate this feeling.

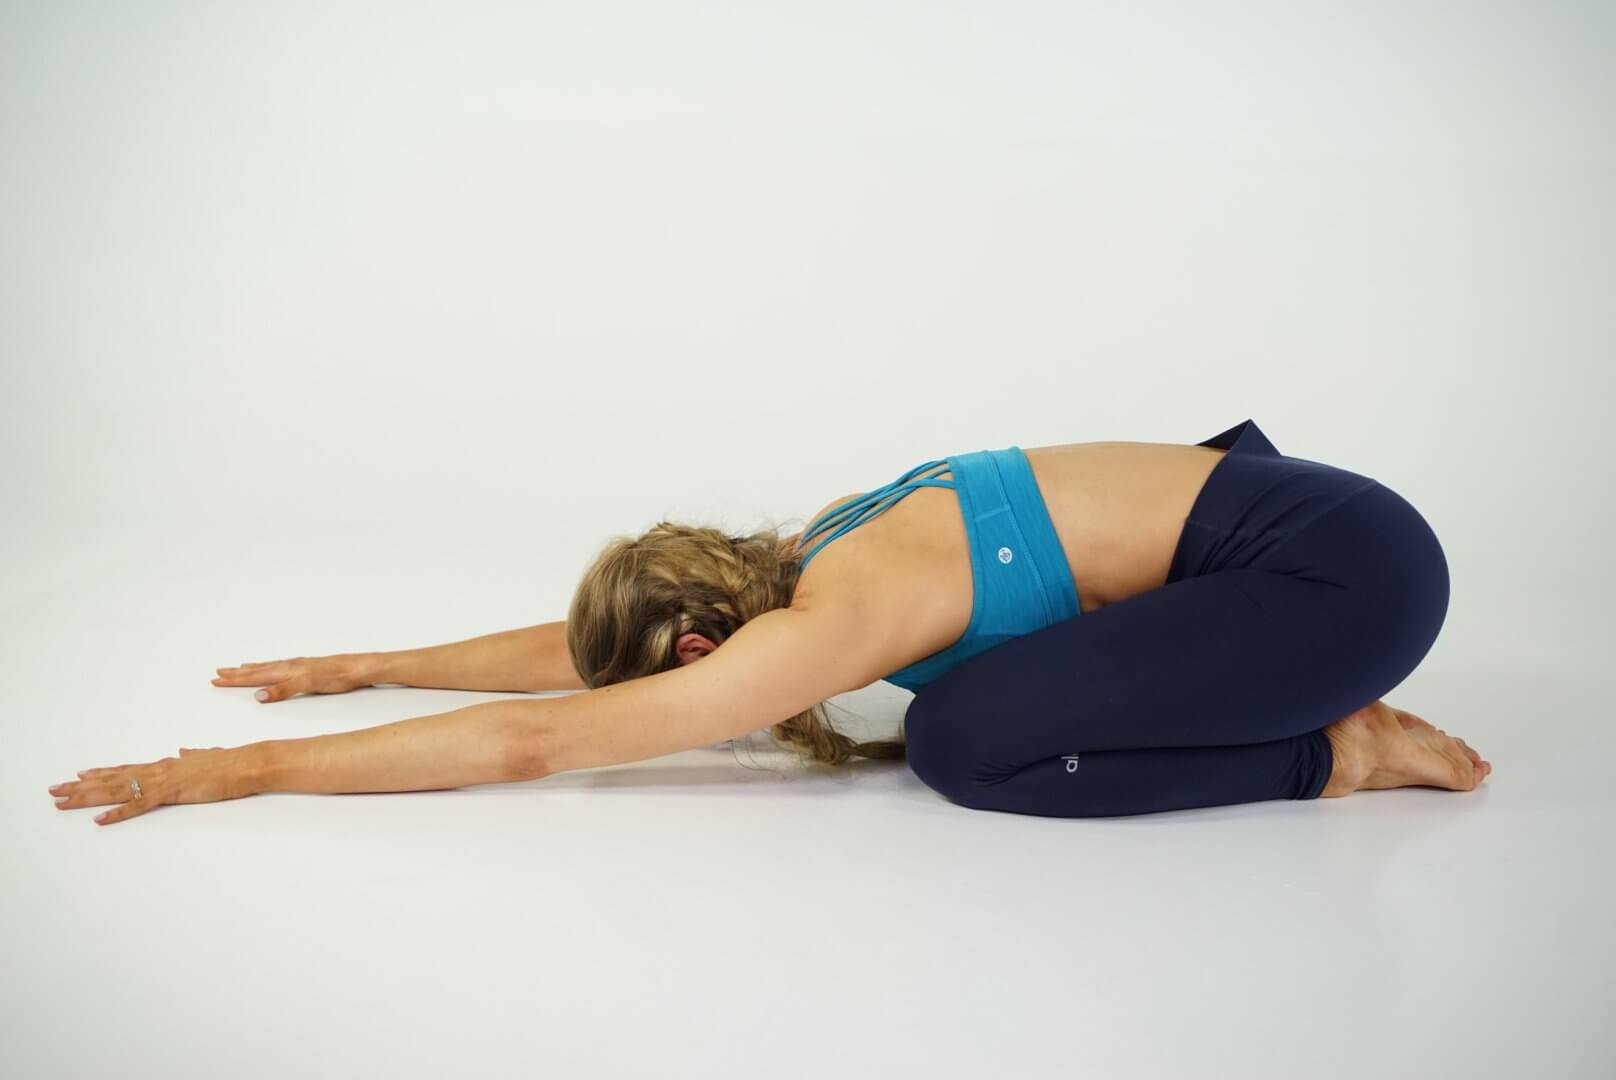
3. Child’s Pose – Balasana

Balasana child's pose
  • Step 1: From all fours take your hips back to your heels. Take knees wide or touching.
  • Step 2: Let the forehead rest down to the ground, closing the eyes.
  • Step 3: Soften the shoulders and experiment with where you want your hands/arms: index fingers touching, elbows wide in a diamond shape, or slide arms alongside the body next to the feet.
  • Step 4: Inhale rising back to all fours to come out of the pose.

Variations: To make this more restorative hug a bolster to your chest. Another great variation is to place a yoga block under the seat between the heels or under the forehead. 

Benefits: This resting posture opens up the back body and is an amazing yoga pose to release the glutes and hips. This asana also takes our attention inward, cooling the body and soothing the nervous system. When in doubt just go into a child’s pose!

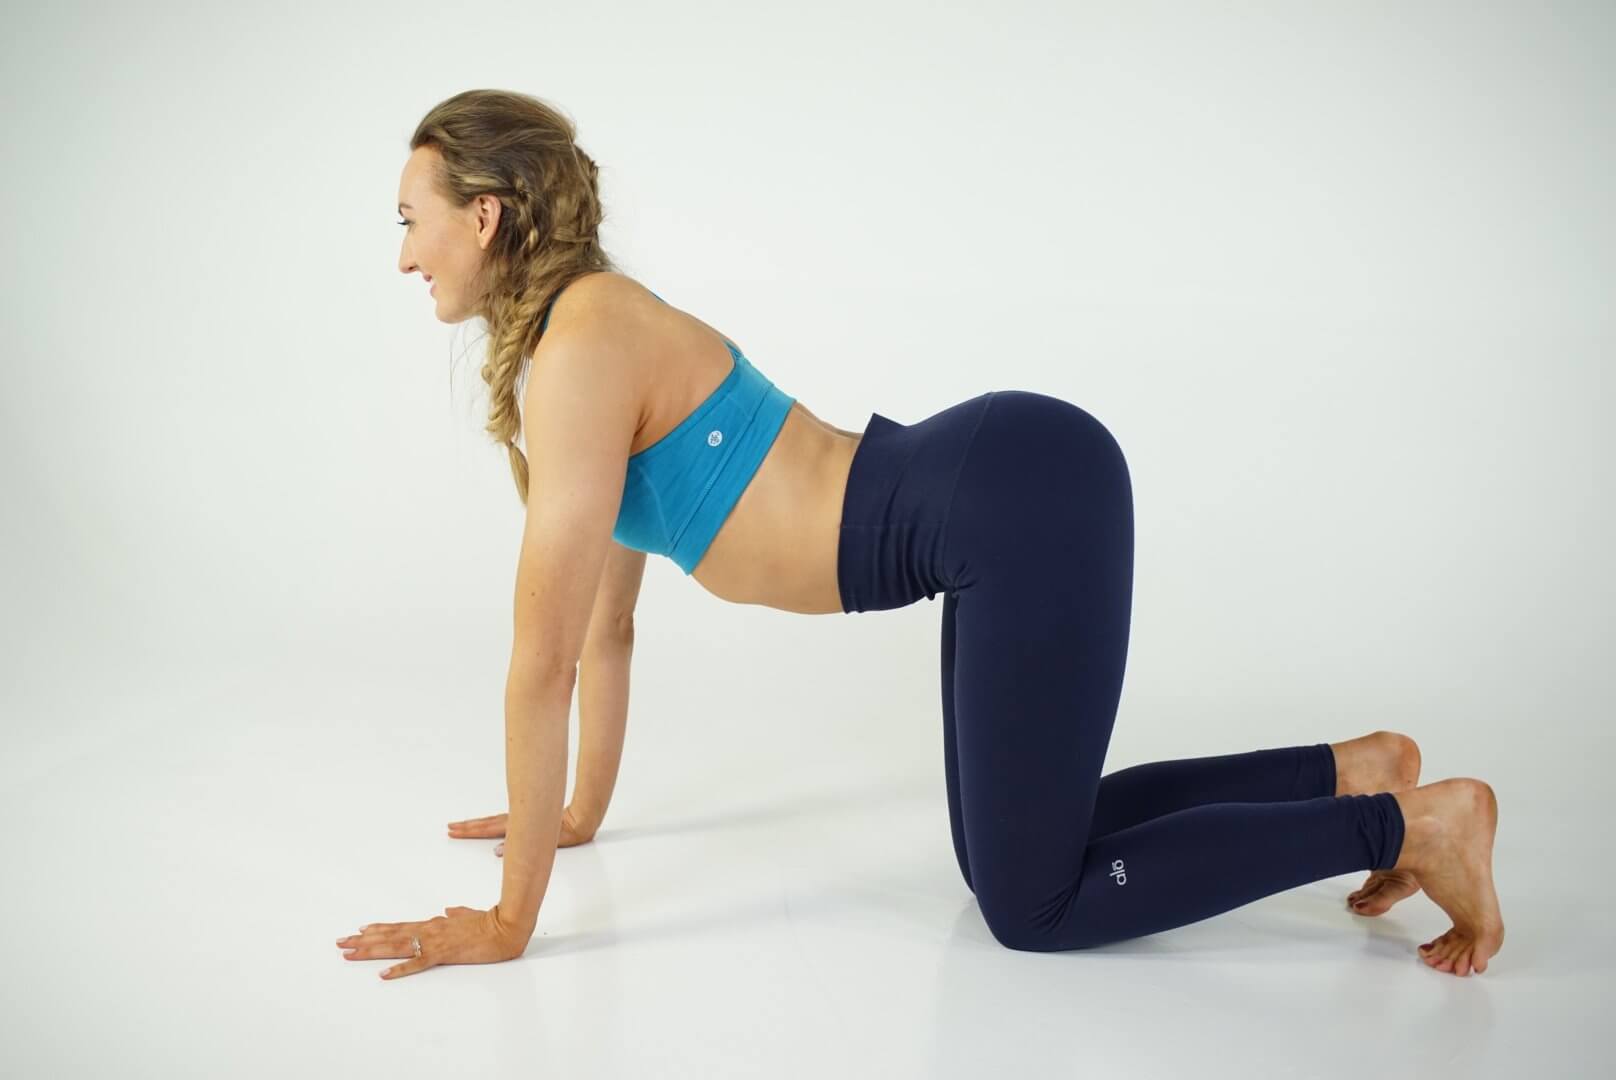
4. Cow Pose – Bitilasana

cow pose
  • Step 1: Start in a tabletop position(on all fours), knees under hips and wrists under elbows, under shoulders.
  • Step 2: On an inhale broaden across the chest taking the collarbones back in space. Keep the belly engaged as it slightly drops down drawing the shoulders down the spine
  • Step 3: Feel the gentle stretching along the front side of the body as the heart yearns forward.
  • Step 4: Exhale bringing the spine back to a neutral table top position.

Variations: Try doing this in an easy seat(sukhasana) or sitting in a chair. You can also make a fist with the hands or use wrist wedges if you have any wrist concerns.

Benefits: Cow pose engages the muscles of the arms, upper back and shoulders. It opens and releases the chest and shoulder muscles where a lot of us hold stress and tension. Making this a great move for stress relief.

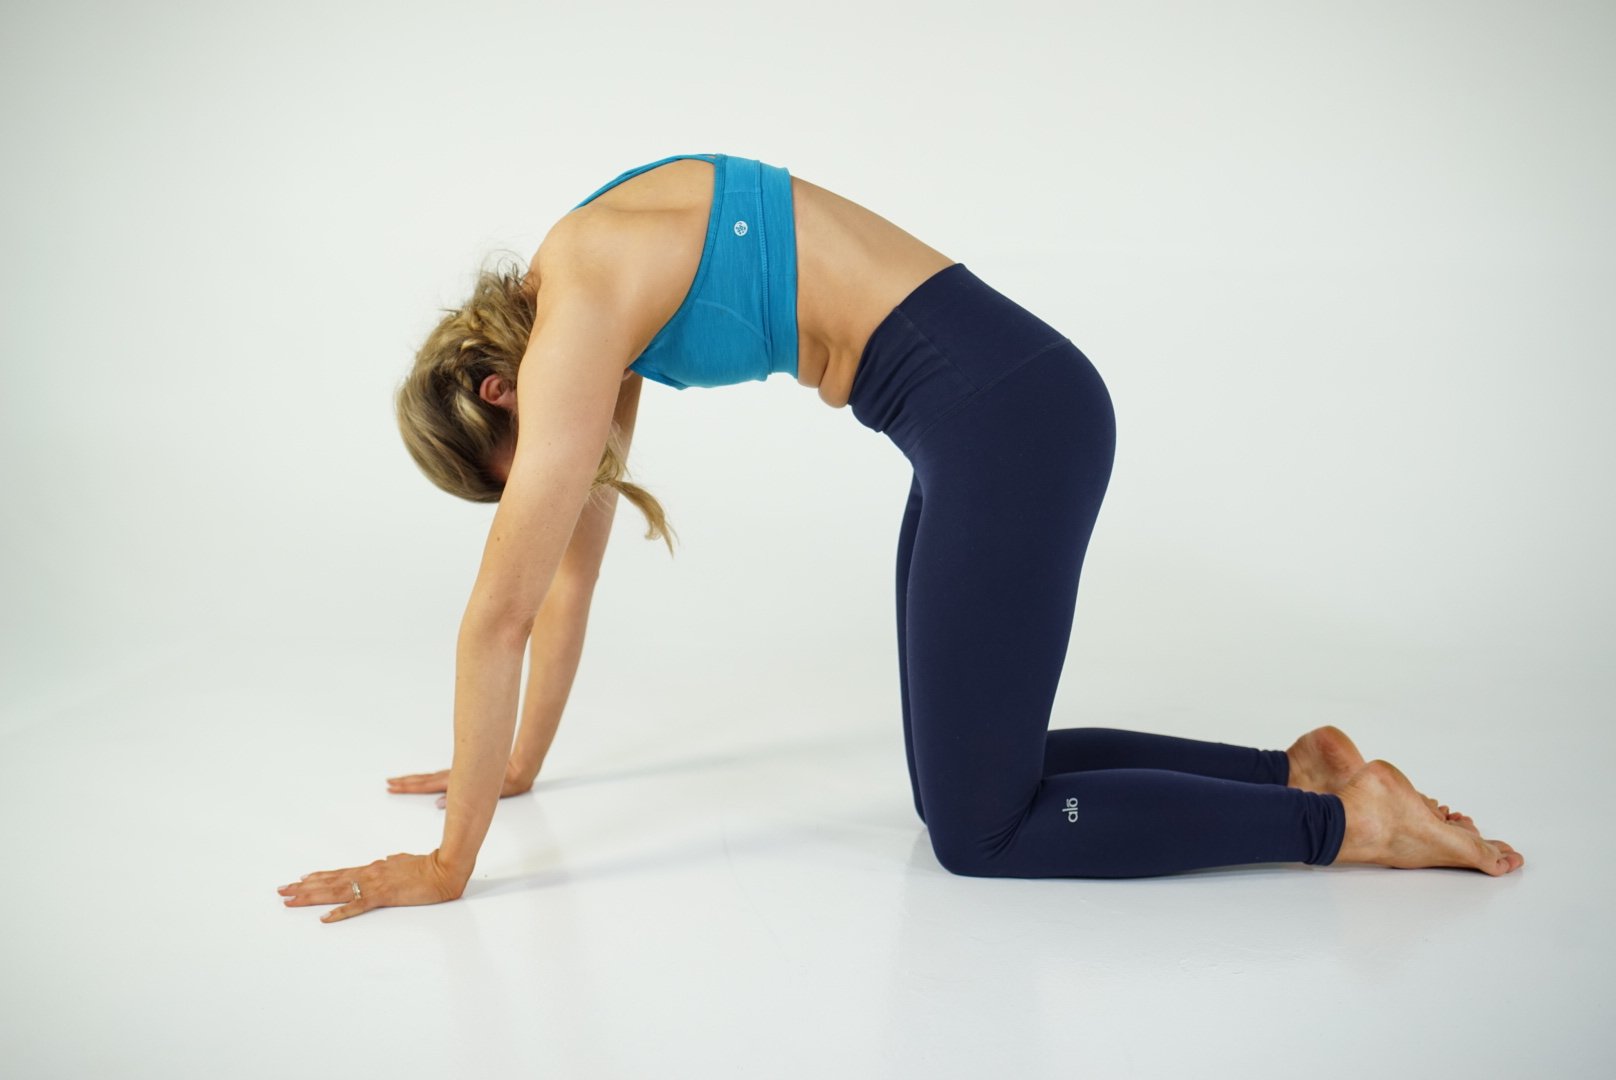
5. Cat Pose – Marjaryasana

cat pose marjaryasana
  • Step 1: Start in tabletop, knees hip width apart and wrists under elbows, under shoulders.
  • Step 2: Exhale press palms into the mat, pulling the navel towards the ceiling.
  • Step 3: Let the head drop as the tailbone lengthens down to the space between the knees.
  • Step 4: Inhale bringing the spine back to a neutral table top position.

Variations: Cat pose can also be done seated in a chair or on the floor if hands and knees are sensitive. Switch to the forearms or put a blanket under the knees if this position puts too much strain on them.

Benefits: This yoga pose releases tension in the upper body allowing us to relax those shoulders down and relieve some of the stress we are holding there. This pose boosts blood circulation and increases circulation of spinal fluid. 

Make your yoga practice 2x more potent in HALF the time (usually $47) FREE 👇
X
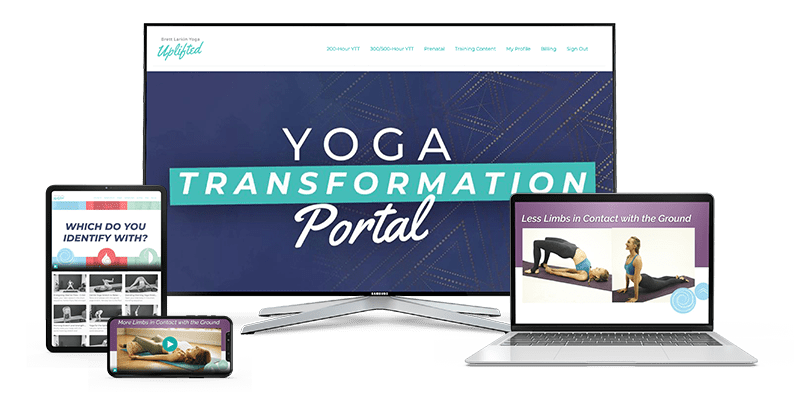
Make your yoga practice 2x more potent in 1/2 the time. FREE two-hour Yoga Transformation Portal (usually $47) [Claim it Free Here]

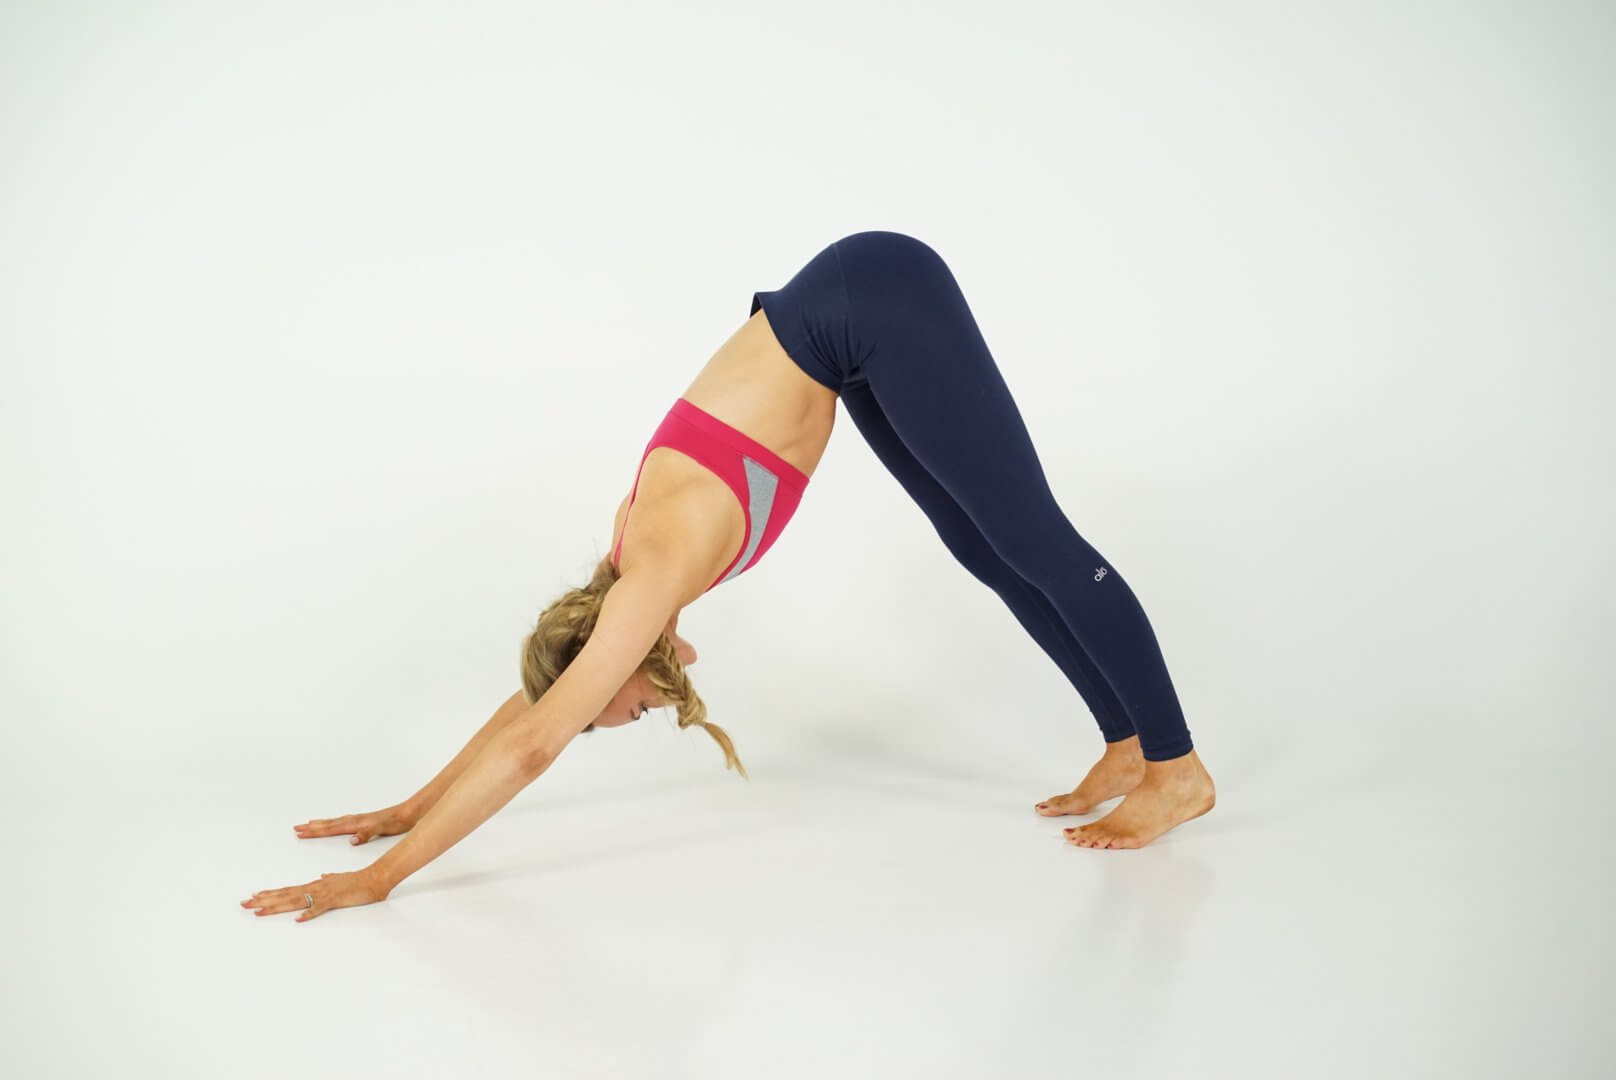
    6. Downward Facing Dog – Adho Mukha Svanasana

    downward facing dog
    • Step 1: From hands and knees, curl the toes under, pressing the hands into the mat send the hips up and back .
    • Step 2: Feet hip width apart or wider, toes spread forward, heels yearn towards the mat.
    • Step 3: Pushing through the hands, arches of palms lift, upper arms externally rotate, the head falls in line between the arms.
    • Step 4: Come out of the pose by simply looking forward, walk the feet to the hands, inhale, sweep the arms up to stand, exhale the arms to your sides.

    Variations: Bend the knees deeply or take feet as wide as mat to make this more comfortable like a resting pose. Place wedges under hands to elevate wrists or place hands on blocks to modify for any wrist issues. A great alternative yoga pose to this is puppy pose(Uttana Shishosana).

    Benefits: Downdog stretches the backside of the body and creates space between vertebrae. As a mild inversion it lowers blood pressure, triggering the parasympathetic(rest and digest) nervous system leading to calm in the body and mind. 

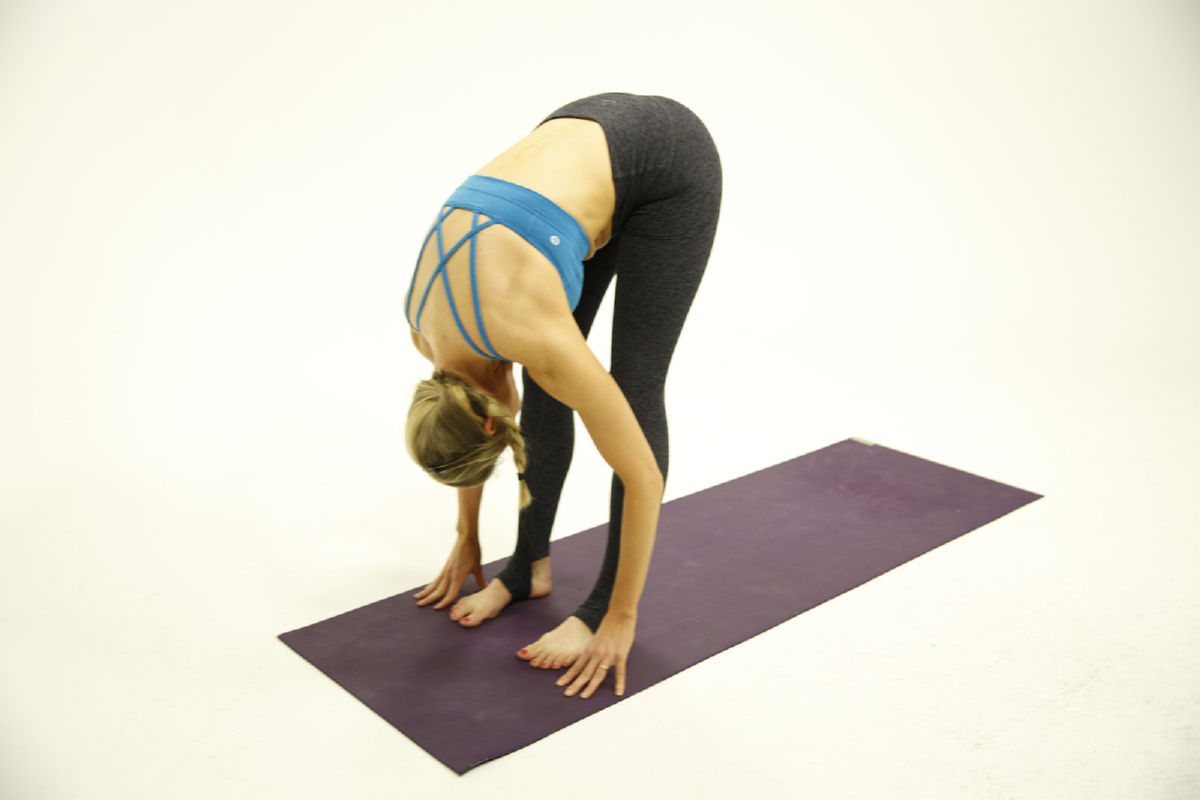
    7. Standing Forward Bend – Uttanasana

    standing forward bend
    • Step 1: Begin in a standing position. Inhale as the arms sweep up overhead.
    • Step 2: Exhale hinge at the hips as you bend forward, arms float down to the floor
    • Step 3: Let gravity have your head, not your shoulders. Breath deeply for several breaths.
    • Step 4: When ready, inhale, bend the knees and sweep the arms up to standing. Exhale as the arms come down to your sides.

    Variations: If the stretch in the back body is too intense, create a more gentle stretch by bending the knees deeply or taking the feet a bit wider. Place hands on blocks, clasp opposite elbows to hang, or use a chair/table to assist you by placing the hands on top and only coming halfway down.

    Benefits: This yoga pose helps increase blood circulation, lowering blood pressure and helping to ease headaches. I also love this pose for the stretch it provides through the entire backside of the body. Especially the lower back!

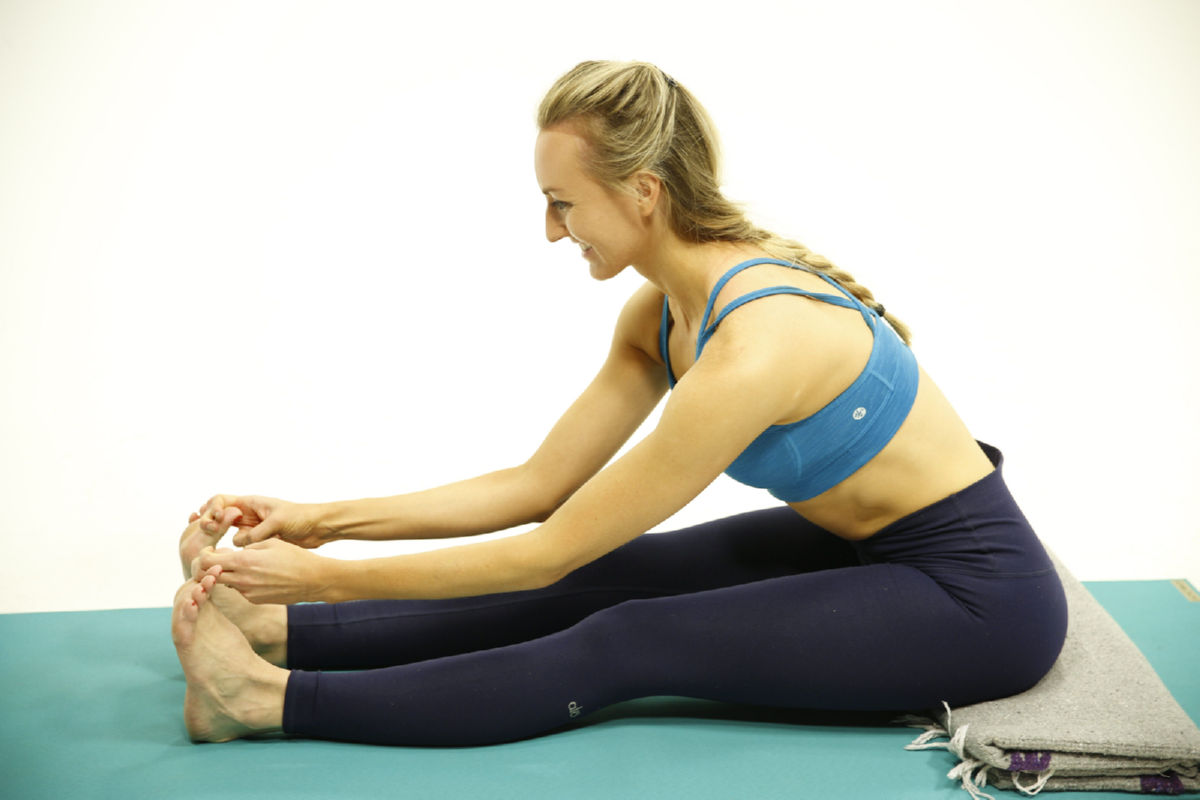
    8. Seated Forward Bend – Paschimottanasana

    seated forward bend
    • Step 1: Start in Dandasana. Ensure a straight spine.
    • Step 2: Heels touching or hip width, flex the feet as you inhale the arms up getting tall.
    • Step 3: Breathing out, draw the belly in, hinge from the hips and bend forward over the legs.
    • Step 4: Place hands on shins or wherever you can comfortably keep the integrity of the low spine. Engage legs and keep the shoulders away from the ears as you hold this pose for several breaths.
    • Step 5: Inhale pressing the palms into the floor gently lifting yourself back to your starting position.

    Variations: This is an awesome yoga pose to use props with. Place a blanket or bolster under the seat, or loop a strap around the soles of the feet to assist the fold. Keep in mind that you don’t even have to fold over. You can just sit up tall or with a slight tilt. For a deeper stretch grab the toes

    Benefits: Paschimottanasana stretches the back of the legs and low back. When practiced regularly it can increase flexibility and mobility. Bonus! It helps bring attention inward, regulating our energy centers and decreasing anxiety.

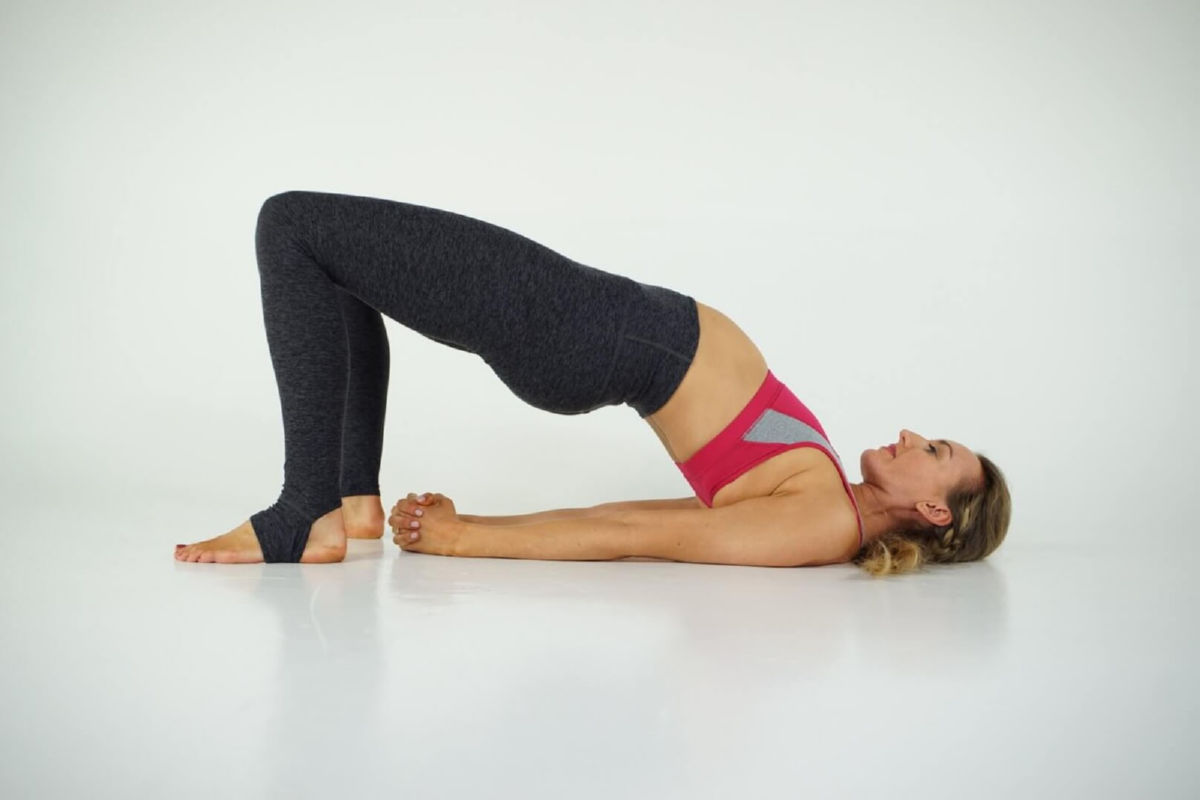
    9. Bridge Pose – Setu Bandha Sarvangasana

    bridge pose
    • Step 1: Lie flat, place feet flat to the mat hip width apart, ankles under knees. Keep arms by your sides.
    • Step 2: Inhale squeeze through the glutes lifting the hips up. Scooch the shoulders together, interlacing the hands underneath you.
    • Step 3: Exhale here and hold for several breaths. When you are ready to come out gently release the hands and exhale as you relax the hips back to the ground. 

    Variations: If you are just starting with this pose you can always press the palms in to the floor alongside the body or place a block under the hips for extra support.

    Benefits: Bridge pose strengthens the muscles of the back body opening the front body with a mild stretch. Opening the front body also aids in opening the breath which, as you know, lets us breathe more deeply, calming the nervous system and inducing relaxation.

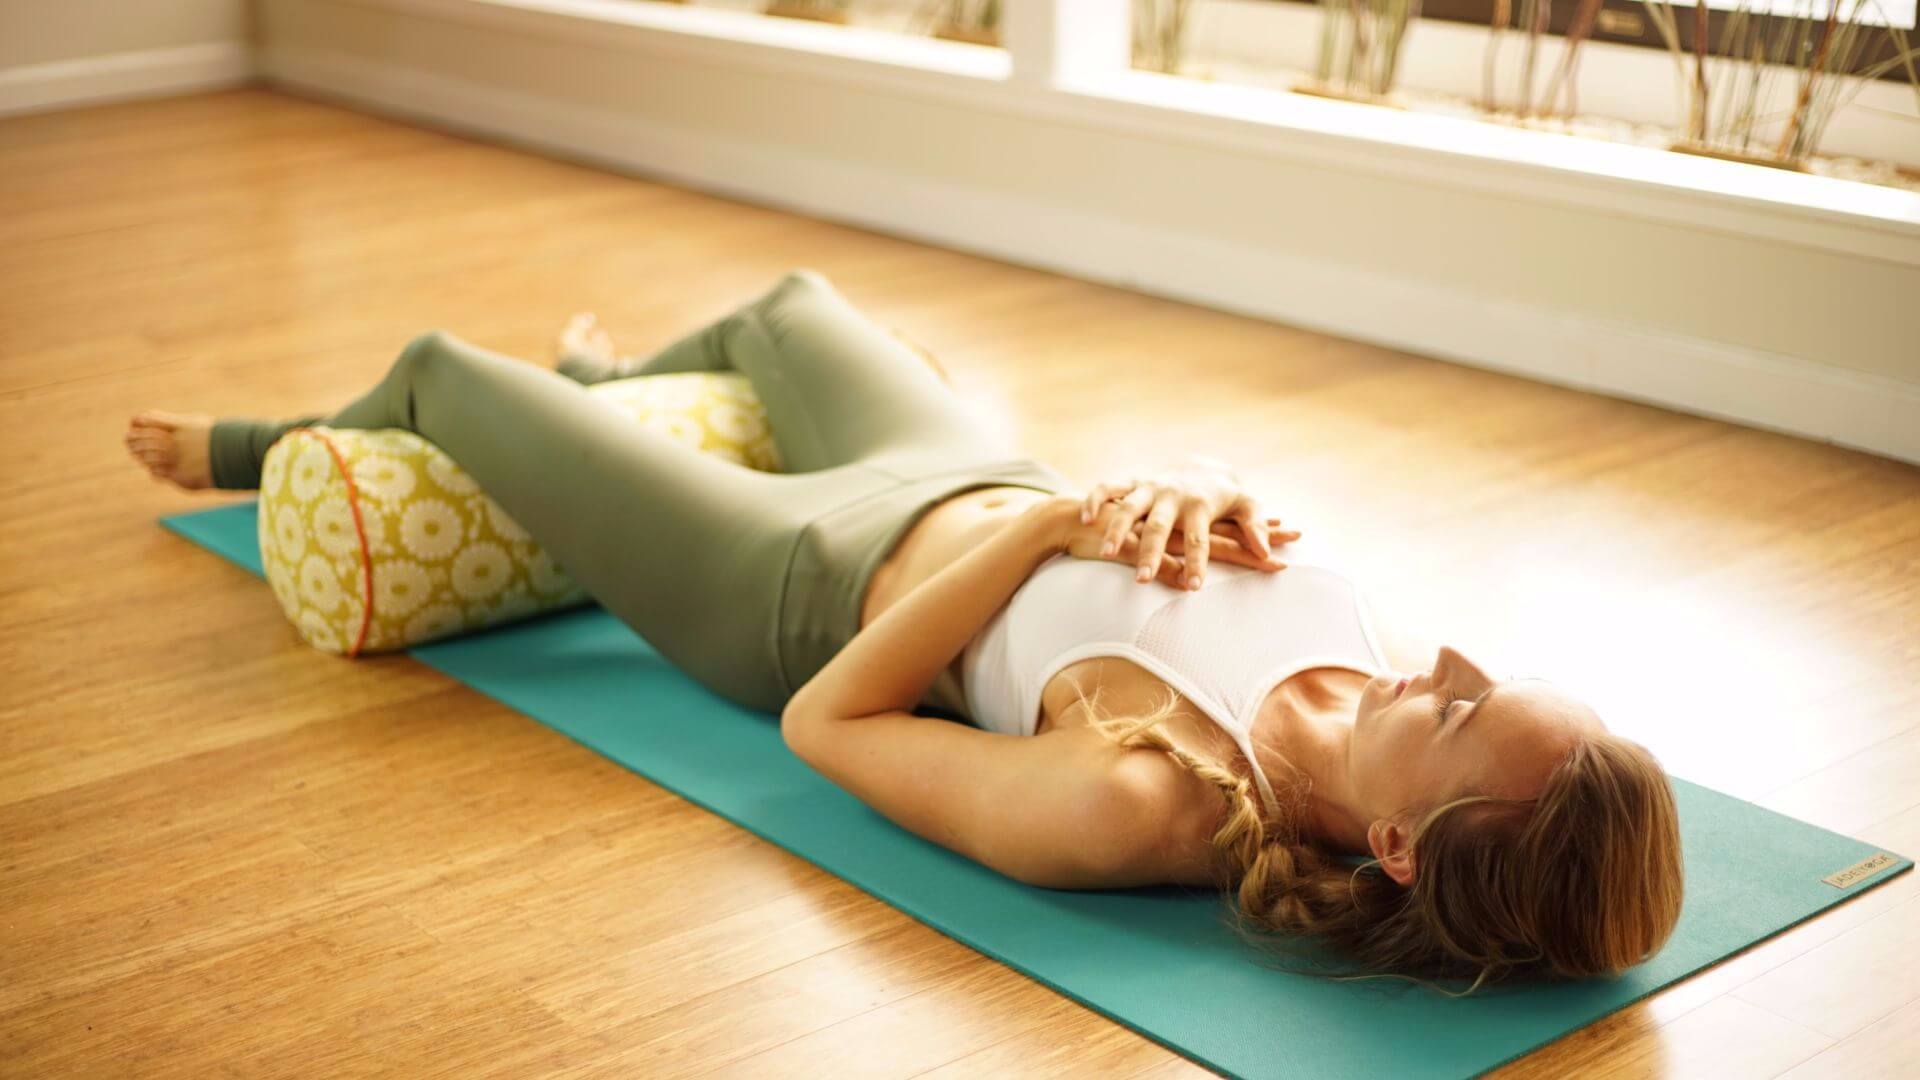
    10. Corpse Pose – Savasana

    Brett Larkin savasana
    • Step 1: Lie flat on your back, legs extended. Take the feet as wide as the mat, arms by your sides. Close your eyes and breathe.
    • Step 2: To release the pose take small movements in the hands and feet then the rest of the body.

    Variations: Put a blanket or bolster under your knees to protect the low back. You can also cover the eyes or body to deepen the pose. 

    Benefits: Corpse pose calms the mind, deepens the breath, lowers blood pressure, and induces full body relaxation which relieves stress.

    Benefits of Practicing Yoga for Stress Relief

    There are many benefits to having a regular yoga practice. Even science has shown that those who practice yoga have noticeable stress reduction. 

    A consistent yoga practice brings your mind and body into the present, increasing your mind/body awareness. When we have greater mind/body awareness we can better identify thoughts and feelings, physical or emotional, making us better capable of how to release attachments and move through those feelings with ease. 

    Yoga and pranayama can take us out of our sympathetic nervous system (fight/flight/freeze) and bring us back to that wonderful relaxing state of the parasympathetic nervous system (rest/digest), improving our mood effectively. 

    And that is how we reduce our stress responses and give ourselves the tools to think clearly.

    Next Steps

    X
    Experience 3 Training Videos from Inside My 200-Hour Online YTT

      X
      Learn how to do 11 of the most popular yoga poses correctly. Free video + PDF download.